If you’ve recently found mold in your home, one of the biggest questions that you probably have is: How much does mold remediation cost?
This is an important question.
After all, mold problems can go from a small issue to a serious cleanup job pretty quickly. And when you start getting quotes, the prices can vary a lot.
For instance, one company might quote you $600, while another might say $5,000 or more for what seems like the same problem.
So, what’s actually normal?
Now, the short answer is: Most mold remediation jobs in New Jersey cost somewhere between $500 and $6,000.
Here, the average cost of mold remediation lands around $1,500-$3,500 for most homes.
But just like anything, the exact price depends on how much mold is present, where it is, and whether it has spread into walls, insulation, or HVAC systems.
In this blog, I will break everything down in a very simple way. You’ll know:
- The average mold remediation cost in New Jersey
- Mold removal costs by area and severity
- What affects the final price
- What’s included in mold remediation
So, let’s get into it.
Key takeaways
- Most mold remediation jobs in NJ cost between $500-$6,000
- The average cost of mold remediation is around $1,500-$3,500
- Small localized mold cleanup can cost as little as $500-$1,000
- Severe whole-home remediation can exceed $10,000
- Black mold removal usually costs more because of safety procedures
- Mold remediation HVAC cost is often higher due to duct cleaning and contamination risks
- Basement mold removal is usually more expensive than bathroom mold cleanup
- The final price depends heavily on moisture damage and how far the mold has spread
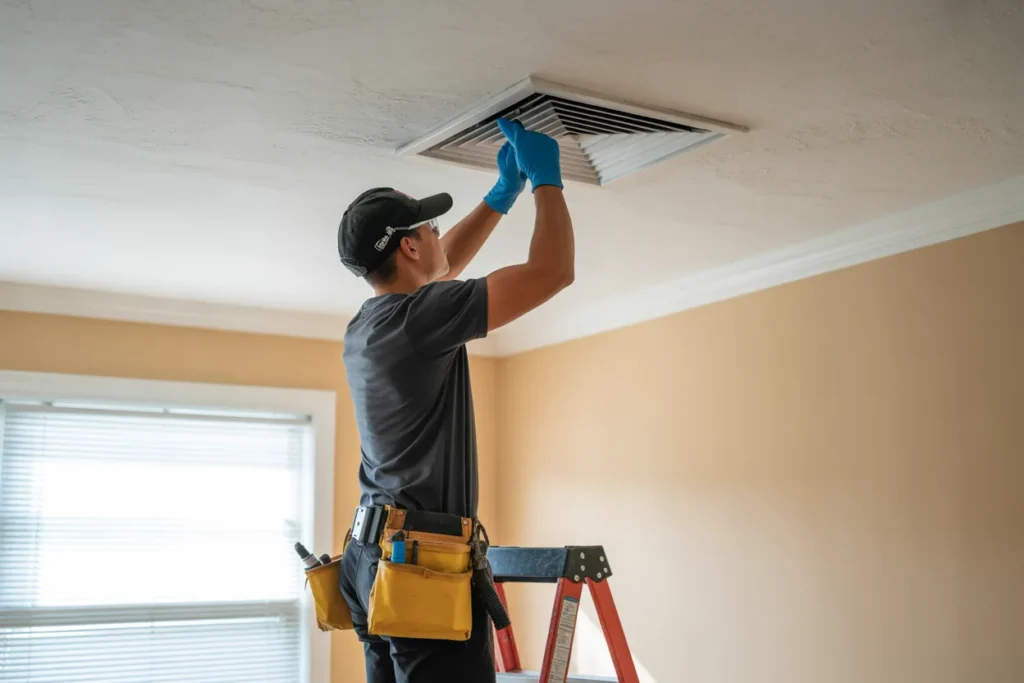
What is mold remediation and what does it actually include?
Before we talk more about pricing, let’s quickly understand what mold remediation actually means.
A lot of people think mold remediation simply means spraying something on the mold and wiping it away.
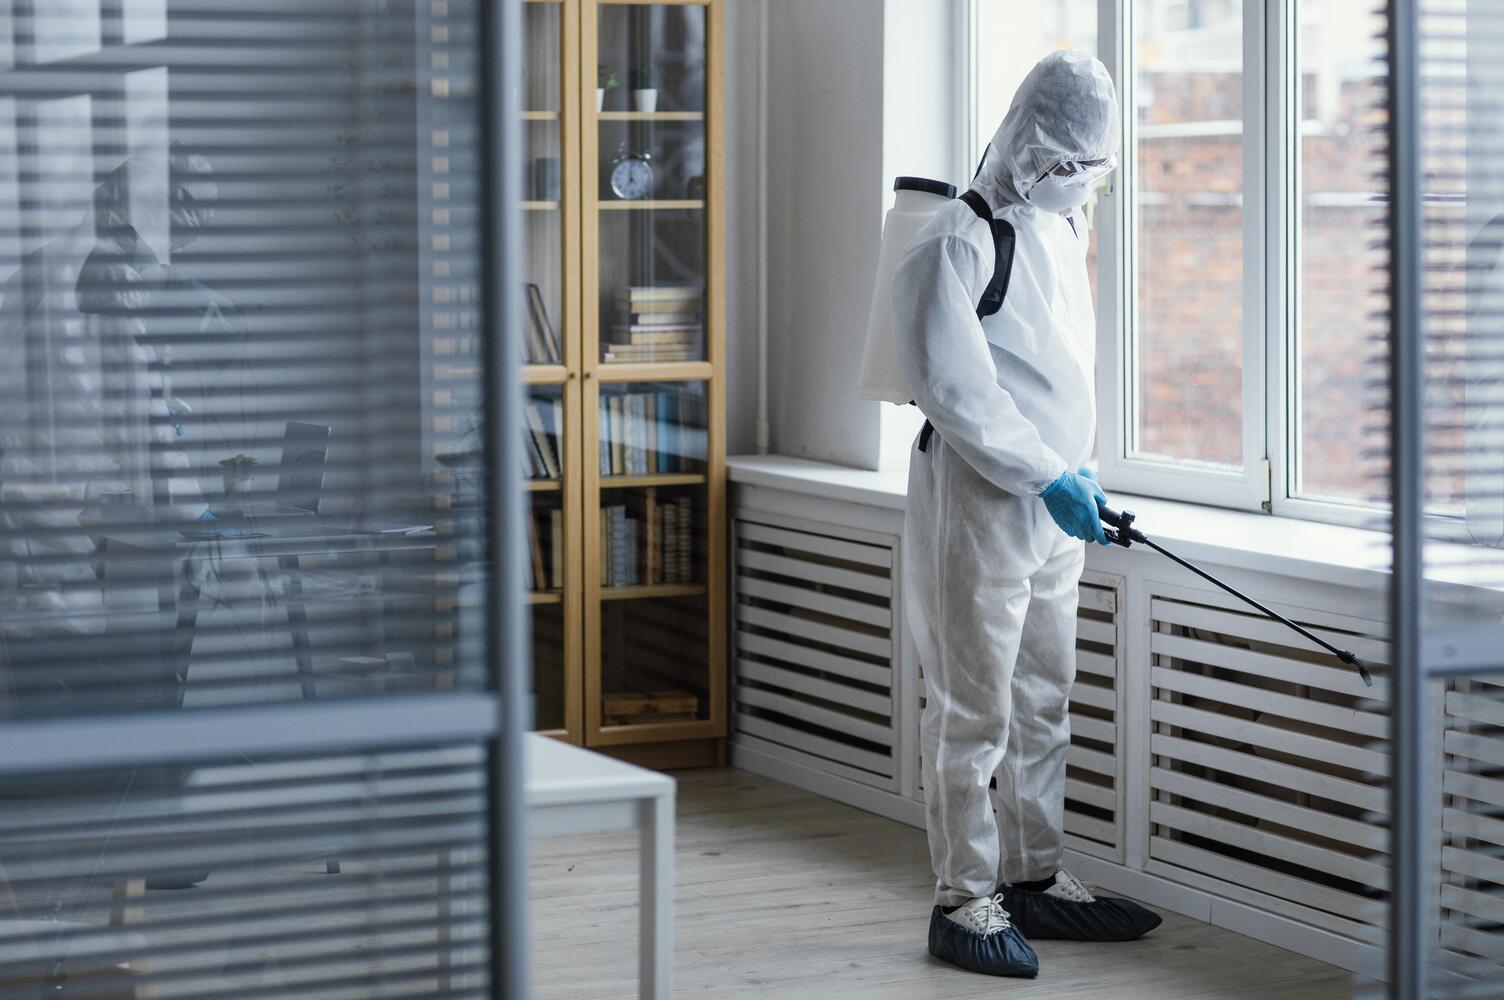
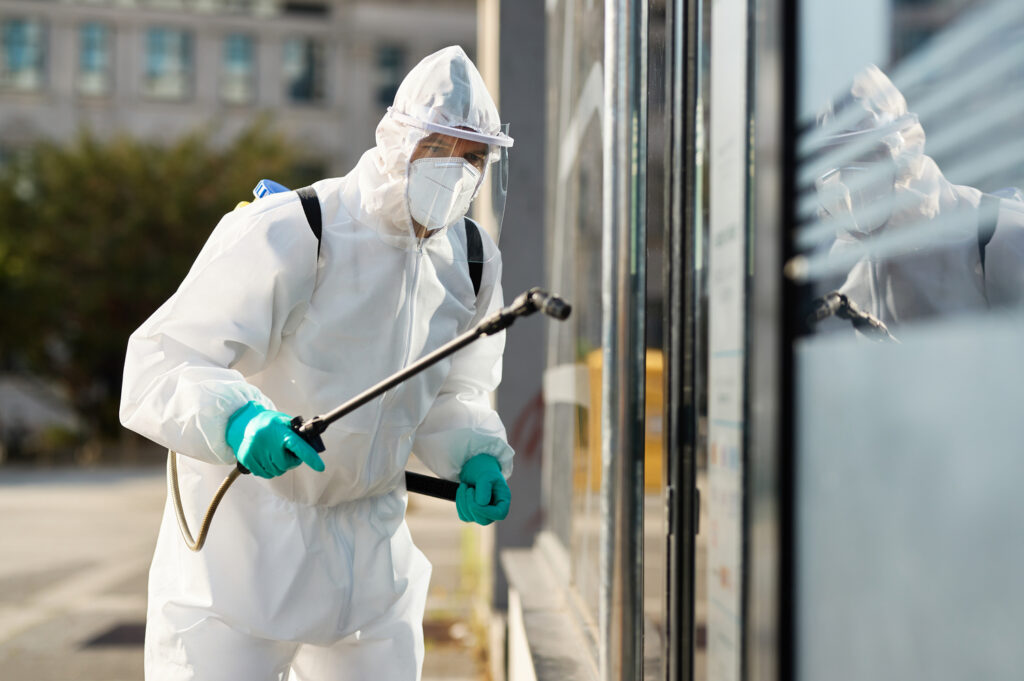
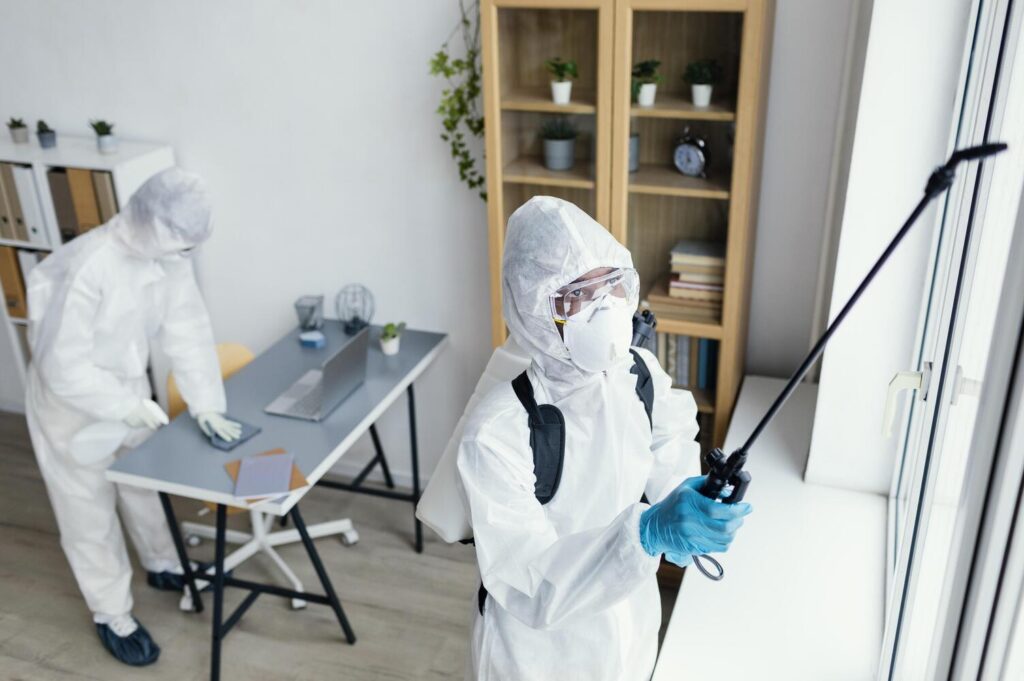
But a proper mold remediation process involves much more than basic cleaning. Here, the goal isn’t just to remove visible mold, but to identify the moisture source, contain the affected area, safely remove contaminated materials, and prevent the mold from returning.
A professional mold remediation job usually includes:
- Inspection and moisture assessment
- Containment of affected areas
- HEPA air filtration
- Removal of contaminated drywall, insulation, or flooring
- Antimicrobial treatment
- Deep cleaning and sanitization
- Air quality cleanup
- Repairs or reconstruction (if needed)
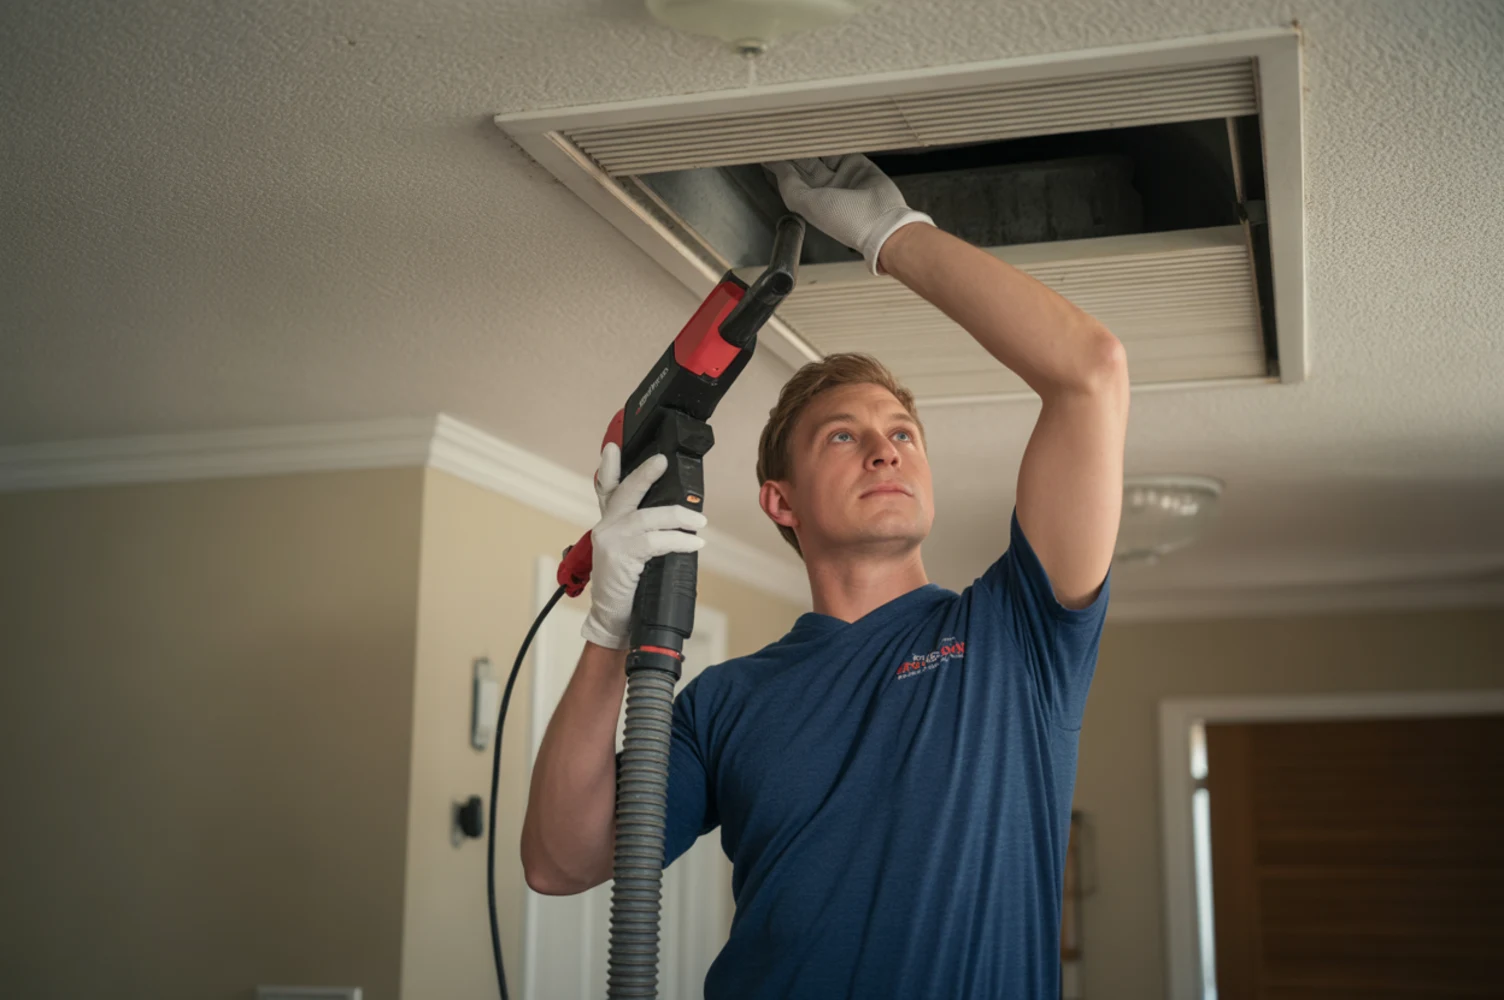
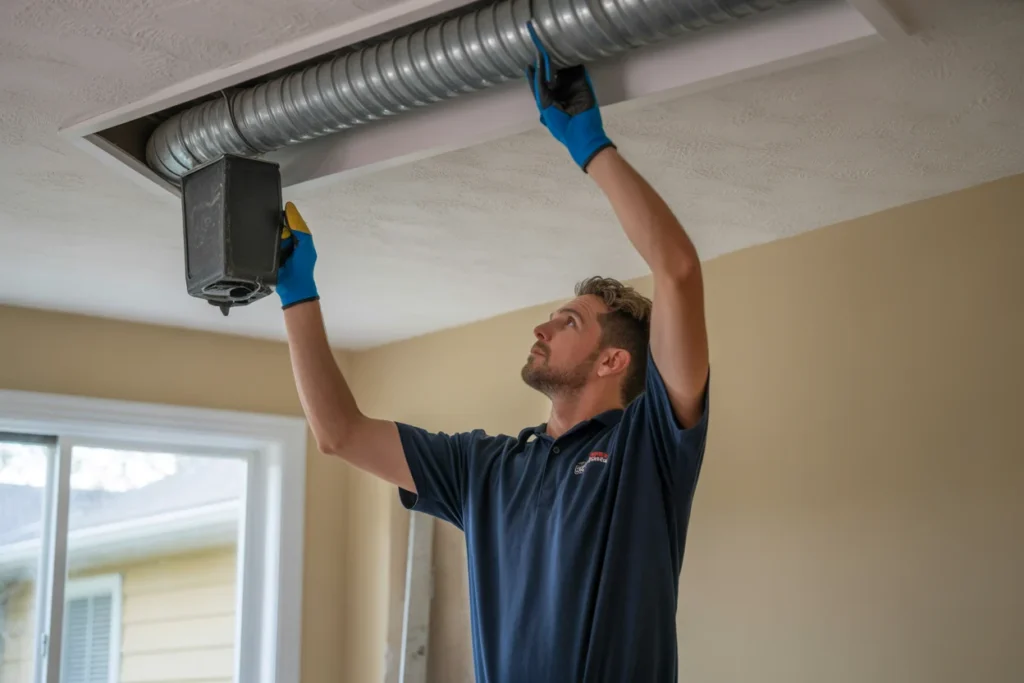
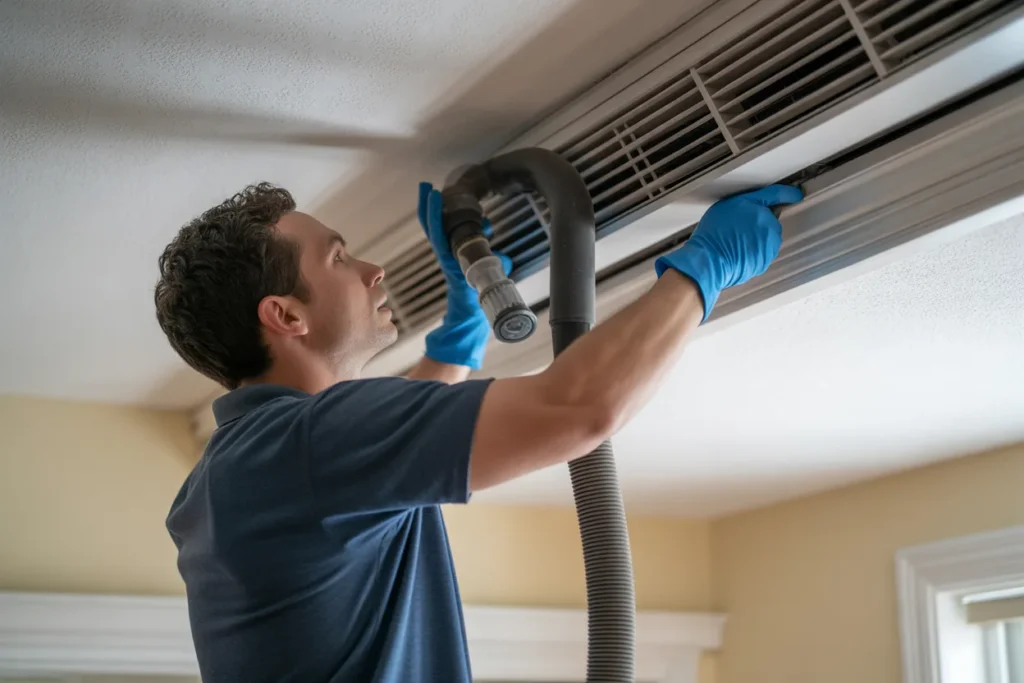
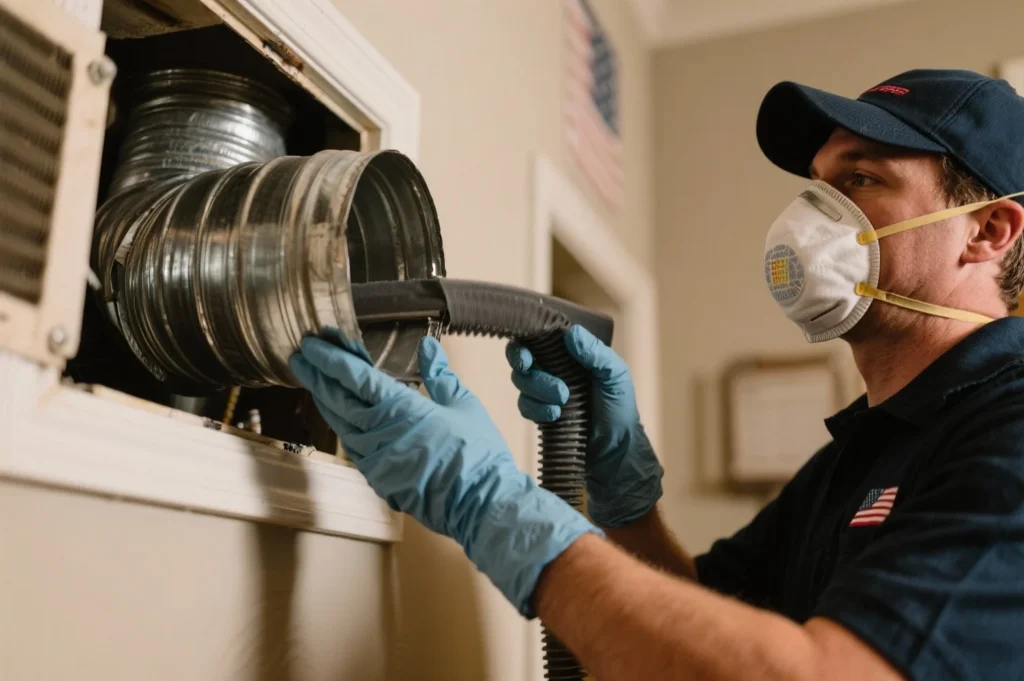
Also, in more serious cases, technicians perform HVAC system cleaning as well as crawlspaces, attics, and ductwork sanitization if mold spores have spread through the home.
Schedule Your Free Estimate Today
Contact us to improve your indoor air
quality with our expert cleaning services in NJ.
How much does mold remediation cost in New Jersey exactly?
In New Jersey, homeowners spend anywhere between $500 and $6,000 for professional mold remediation.
However, most residential mold remediation cost projects fall somewhere in the $1,500-$3,500 range.
The final price depends mostly on:
- The size of the affected area
- The type of mold
- Moisture damage
- And how much material needs to be removed
Here’s a general mold removal cost breakdown to give you a better idea:
1. Small localized mold cleanup: $500-$1,000
Small mold problems are usually the cheapest to handle. This includes mold growing under sinks, around windows, or on small bathroom surfaces.
Now, since the affected area is limited, cleanup is usually quicker and requires less containment, labor, and material removal.
Most homeowners pay somewhere between $500 and $1,000 for this type of remediation.
2. Bathroom mold remediation: $600-$2,000
Bathroom mold is very common in New Jersey homes because of constant moisture and poor ventilation. Here, mold often grows around showers, ceilings, caulking, and under sinks.
The bathroom mold removal cost for smaller surface-level problems is fairly affordable to clean, costing about $600.
But if moisture has spread behind drywall or flooring, the bathroom mold removal cost can go up-to $2,000.
3. Basement mold removal: $2,000-$8,000
Basement mold problems are usually more serious because they’re often connected to water intrusion or high humidity.
In many cases, mold spreads behind finished walls, insulation, carpeting, or wood framing. This makes cleanup much more labor-intensive.
Mold removal costs for basement areas are usually higher, in the range of $2,000-$8,000, because larger sections of material might need removal and replacement.
4. Attic mold remediation: $1,500-$6,000
Attic mold is commonly caused by roof leaks, trapped humidity, or poor ventilation. And sometimes homeowners don’t even realize there’s mold in the attic until an inspection is done.
Now, mold cleanup here involves treating wood framing, removing contaminated insulation, and improving ventilation.
The final cost can range between $1,500-$6,000, depending on how widespread the mold growth is throughout the attic.
5. HVAC mold remediation: $2,000-$8,000
Mold inside HVAC systems is one of the more expensive remediation jobs because spores can spread throughout the home through ductwork.
Here, proper cleanup often includes air duct cleaning, coil cleaning, HEPA filtration, and antimicrobial treatment.
So, although the cost ranges between $2,000-$8,000, your total mold remediation HVAC cost can be on the higher end if contamination has spread across multiple parts.
6. Whole-home mold remediation: $5,000-$15,000+
Whole-home mold remediation is usually needed after severe water damage, flooding, or long-term moisture issues.
In these situations, mold might affect multiple rooms, walls, ceilings, insulation, and even HVAC systems. Also, chances are that earlier mold abatement wasn’t as effective.
And since large-scale containment, demolition, and air filtration are required here, the cost of mold remediation can easily exceed $10,000 in bigger homes.
7. Black mold remediation: $2,000-$10,000+
Black mold remediation is more expensive, ranging between $2,000 and $10,000, because companies typically use stricter safety and containment procedures during cleanup. This can include negative air pressure systems, HEPA air scrubbers, and protective equipment.
The exact black mold removal cost depends mostly on how far the contamination has spread and whether structural materials need removal.
In short, here’s how much mold remediation costs in New Jersey:
| Mold Remediation Type | Average Cost |
| Small localized cleanup | $500-$1,000 |
| Bathroom mold remediation | $600-$2,000 |
| Basement mold removal | $2,000-$8,000 |
| Attic mold remediation | $1,500-$6,000 |
| HVAC mold remediation | $2,000-$8,000 |
| Whole-home mold remediation | $5,000-$15,000+ |
| Black mold remediation | $2,000-$10,000+ |
How much does mold remediation cost by square footage?
Another common way contractors price mold remediation is by square footage.
This is especially common for larger contamination areas like basements, attics, crawlspaces, or water-damaged rooms.
Here’s an estimate of mold removal cost by affected area size:
1. Under 10 sq. ft.: $500-$1,500
When mold is limited to a very small area, the cleanup is usually straightforward. This could be a corner of a bathroom, a small patch near a window, or under a sink.
Since there’s minimal spread and less material involved, the cost of mold remediation stays on the lower end, often between $500 and $1,500.
2. 10-50 sq. ft.: $1,000-$3,500
This range usually includes slightly larger but still contained mold problems. You might see this in sections of drywall, small basement leaks, or attic spots.
At this size, technicians might need to set up basic containment and do more detailed cleaning. The mold removal cost increases because labor and cleanup time go up.
3. 50-100 sq. ft.: $2,000-$6,000
At this level, mold is no longer just a small patch. Instead, it might be spreading across multiple surfaces or hidden behind materials like drywall or insulation.
This requires partial demolition and air filtration equipment. The average cost of mold remediation rises here because the job becomes more labor-intensive and time-consuming.
4. 100+ sq. ft.: $5,000-$15,000+
Large-scale mold problems usually fall into this category, often affecting basements, multiple rooms, or entire sections of a home.
At this stage, containment systems, HEPA filtration, and significant material removal are typically required.
The cost for mold remediation can increase quickly depending on how deep the contamination has spread and whether structural repairs are needed.
In short, here’s how much mold remediation costs by square footage:
| Affected Area Size | Typical Cost Range |
| Under 10 sq. ft. | $500-$1,500 |
| 10-50 sq. ft. | $1,000-$3,500 |
| 50-100 sq. ft. | $2,000-$6,000 |
| 100+ sq. ft. | $5,000-$15,000+ |
Why does mold remediation cost vary so much?
One thing you might have noticed is how different mold removal quotes can be.
For instance, one company might quote you $900, while another gives an estimate closer to $4,500. And this can feel very confusing.
But the truth is, mold remediation pricing depends on several major factors including containment zones, demolition, and days of labor to name a few.
Here are the biggest reasons why mold remediation cost varies so much:
1. Size of the mold problem
This is the biggest pricing factor.
A tiny patch of mold in a bathroom corner is much easier to handle than mold spreading across basement walls or attic insulation.
That’s because larger affected areas require extra labor, containment, cleaning, and material removal. This increases the overall cost for mold remediation.
2. Location of the mold
Where the mold is located matters a lot too.
For instance:
- Bathroom mold is often easier to access
- Attic mold requires protective equipment and insulation removal
- Crawlspace remediation is more labor-intensive
- HVAC mold remediation involves duct cleaning and specialized filtration
To put it simply, hard-to-reach areas almost always increase labor costs, and thus the total mold removal cost. .
3. Type of material affected
Mold growing on tile or concrete is usually easier to clean. But mold inside porous materials like drywall, carpet, insulation, or wood requires full removal and replacement.
And once demolition becomes necessary, costs rise quickly.
4. Moisture and water damage
Mold problems almost always start with moisture. And if there’s significant water damage involved, remediation becomes more expensive.
For instance, if a basement has leaking foundation walls, soaked insulation, damaged flooring, or rotted drywall the cleanup process becomes much larger than simple mold removal.
Here, homeowners are not just paying for mold cleanup cost, they’re also paying for:
- Drying equipment
- Damaged material removal
- Moisture control
- And prevention work
5. Type of mold
Not all mold is treated the same way. Some types of mold are relatively easier to clean and contain.
But black mold removal cost is usually higher because contractors often use stricter safety protocols, containment barriers, and HEPA filtration systems.
6. HVAC contamination
If mold spores spread into your HVAC system or ductwork, the cleanup becomes much more complicated. That’s because the HVAC system can circulate spores throughout the house.
Mold remediation HVAC cost can range anywhere from $2,000 to $8,000 or more depending on:
- Duct contamination
- System size
- Accessibility
- And whether components need replacement
7. Labor costs in New Jersey
Just like HVAC or roofing work, labor costs in New Jersey are generally higher than the national average. That’s one reason why residential mold remediation cost in NJ is often higher than homeowners initially expect.
Black mold removal cost: Is it more expensive?
In many cases, yes.
Black mold removal cost is often higher because remediation companies usually take additional precautions during cleanup.
This can include:
- Full containment barriers
- Negative air pressure systems
- HEPA filtration
- Protective suits and respirators
- And more extensive cleaning procedures
In New Jersey, black mold remediation often costs between $2,000 and $10,000+, depending on how widespread the contamination is.
For instance, if extensive black mold growth is visible, especially after water damage or flooding, remediation costs can rise quickly because the cleanup process becomes much more involved.
Bonus: Here’s what you are actually paying for during mold remediation
| Mold Remediation Step | Typical Cost Range |
| Inspection & Moisture Detection | $200-$600 |
| Containment Setup | $500-$2,000 |
| Mold Removal & Demolition | $500-$5,000+ |
| Air Filtration & Cleaning | $300-$1,500 |
| Antimicrobial Treatment | $200-$800 |
| Repairs & Reconstruction | Varies Widely |
Does homeowners insurance cover mold remediation?
The answer is: Sometimes yes, sometimes no.
In most cases, homeowners insurance only covers mold remediation if the mold was caused by a sudden and covered event.
For instance:
- A burst pipe
- Accidental water overflow
- Appliance leaks
- Or storm-related water damage
But if the mold developed slowly over time because of poor maintenance, humidity, long-term leaks, or neglected moisture issues insurance companies often deny coverage.
That’s why many homeowners end up paying mold remediation cost out of pocket.
Bonus: Here are some red flags to watch for while hiring a mold remediation company
| Red Flag | What It Means | Why It’s a Problem |
| Extremely cheap quotes | Very low pricing for full remediation | Often leads to incomplete work or hidden charges later |
| No moisture investigation | Only focusing on removing visible mold | Mold comes back if the moisture source isn’t fixed |
| Scare tactics | Using fear to push urgent decisions | Pressure-based selling instead of proper inspection |
| No certifications or insurance | Missing licenses or professional credentials | Higher risk of poor-quality work and liability issues |
Schedule Your Free Estimate Today
Contact us to improve your indoor air
quality with our expert cleaning services in NJ.
Conclusion
By now, you probably have a much clearer idea of mold remediation cost in New Jersey.
And as you can see, pricing can vary quite a bit depending on:
- The size of the mold problem
- Where it is located
- Moisture damage
- And how extensive the cleanup process is
Most homeowners spend somewhere between $1,500 and $3,500 for professional remediation.
But smaller jobs may cost under $1,000, while major contamination projects can easily exceed $10,000.
The most important thing is catching mold problems early before they spread further into your home. That’s because in most cases, early remediation is far cheaper than dealing with major structural damage later.
Got questions about mold remediation or want to get your HVAC system cleaned?
You can get in touch with us!
At Clean Air Technologies, we bring 3+ of experience helping homeowners get their HVAC systems cleaned and air quality improved throughout New Jersey.
Our technicians use professional-grade equipment and proven remediation methods to help keep homes clean, safe, and healthy.
FAQs about mold remediation cost
How much does mold remediation cost on average?
The average cost of mold remediation usually falls between $1,500 and $3,500 for most residential projects.
Smaller localized cleanup jobs might cost under $1,000, while larger whole-home remediation projects can exceed $10,000 depending on contamination severity and repairs needed.
How much does black mold removal cost?
Black mold removal cost typically ranges between $2,000 and $10,000 or more.
The final price depends on:
- How widespread the mold is
- Where it’s located
- And whether demolition or HVAC cleanup is required
More severe contamination usually requires additional containment and safety procedures.
Is mold remediation covered by insurance?
Sometimes insurance might cover mold remediation if the mold resulted from a sudden covered event like a burst pipe or accidental water damage.
But mold caused by long-term leaks, humidity, or poor maintenance is often excluded from coverage. Coverage limits also vary by policy.
Why is mold remediation so expensive?
Professional remediation involves much more than surface cleaning. The cost often includes:
- Containment systems
- HEPA air filtration
- Moisture detection
- Demolition
- Contaminated material disposal
- Antimicrobial treatment
- And labor-intensive cleanup
Larger contamination areas naturally increase the price.
How much does mold remediation HVAC cost?
Mold remediation HVAC cost usually ranges between $2,000 and $8,000 or more.
This might include:
- Duct cleaning
- Coil cleaning
- Air scrubbers
- Antimicrobial treatment
- And replacing contaminated components
HVAC contamination is typically more complex because spores can spread throughout the home.
What’s the difference between mold removal and mold remediation?
Mold removal focuses mainly on cleaning visible mold.
Mold remediation is a more complete process that includes identifying moisture problems, containing contamination, removing affected materials, improving air quality, and helping prevent future mold growth
Professional remediation addresses the underlying issue, not just the surface mold.
Can I remove mold myself?
Small surface mold in limited areas may sometimes be cleaned safely by homeowners.
But larger mold problems, hidden contamination, HVAC mold, or black mold should usually be handled by professionals.
Improper cleanup can spread spores and worsen indoor air quality issues.
How long does mold remediation take?
Most residential mold remediation projects take anywhere from 1-5 days depending on contamination size, demolition needs, drying time, and repairs required
Large or severe projects may take longer if structural repairs or HVAC cleanup are involved.