If you’ve recently noticed water pooling around your air conditioner, you’re probably wondering: why is my AC leaking water?
And it isn’t just you, as this issue is common across homes in summer.
Now, let me tell you not every AC water leak indicates a major problem. Your air conditioner naturally produces water every time it cools your home.
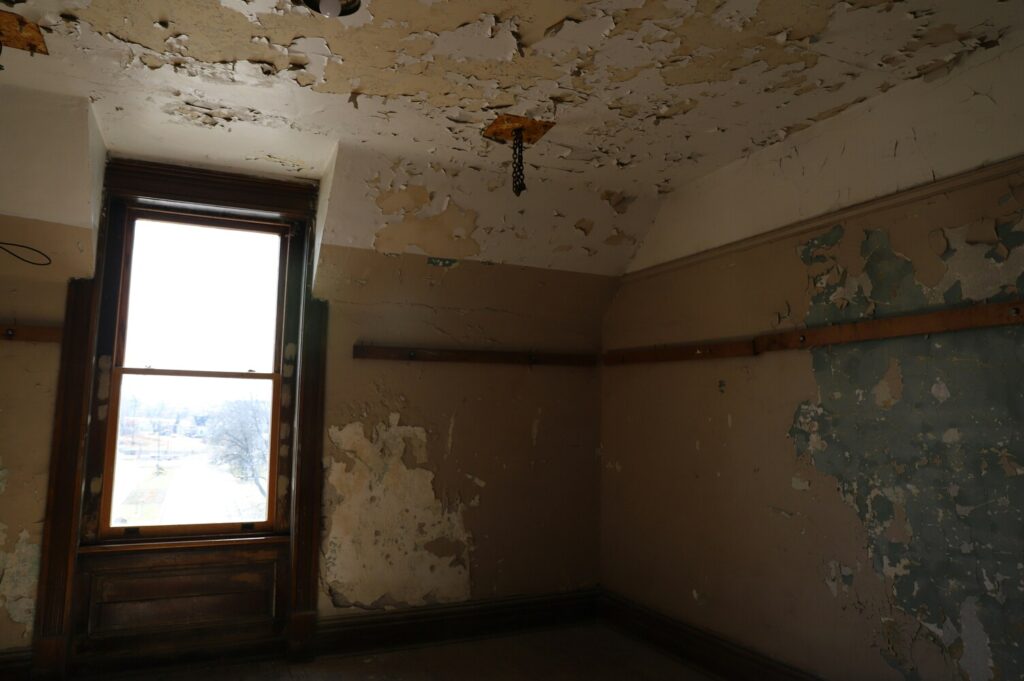
However, when something prevents that water from draining properly, it can start leaking around the indoor unit, ceiling, walls, or even onto your floors.
This is when you should be concerned, as a leaking AC can lead to water damage, white mold hazards, reduced cooling performance, and even expensive HVAC repairs.
The silver lining here is that most AC leaks have a clear cause. And once you know what’s causing the problem, you can easily determine whether it’s a simple DIY fix or something that needs professional attention.
In this blog, I will explain it all. You’ll know:
- Why your AC produces water in the first place
- Whether it’s normal for an AC to leak water
- The most common reasons an AC starts leaking
- How to fix an AC water leak
- When it’s time to call an HVAC professional
So, let’s get started.
Key takeaways
- Air conditioners naturally produce condensation while cooling your home.
- A small amount of water draining outside is normal.
- Water leaking inside the house is a sign of an HVAC problem.
- A clogged condensate drain line is one of the most common causes of AC leaks.
- Dirty air filters, frozen coils, and low refrigerant can also cause water leaks.
- Basic HVAC maintenance can help prevent many AC drainage problems.
- If water leaks continue or the system freezes repeatedly, professional service is recommended.
Is it normal for an AC to leak water?
The short answer is yes, but only under certain circumstances.
People become concerned when they notice water around their air conditioner. And that’s understandable.
But here’s the thing.
Your air conditioner is designed to remove humidity from indoor air. So, as it cools your home, it also pulls moisture from the air.
Now, this moisture has to go somewhere.
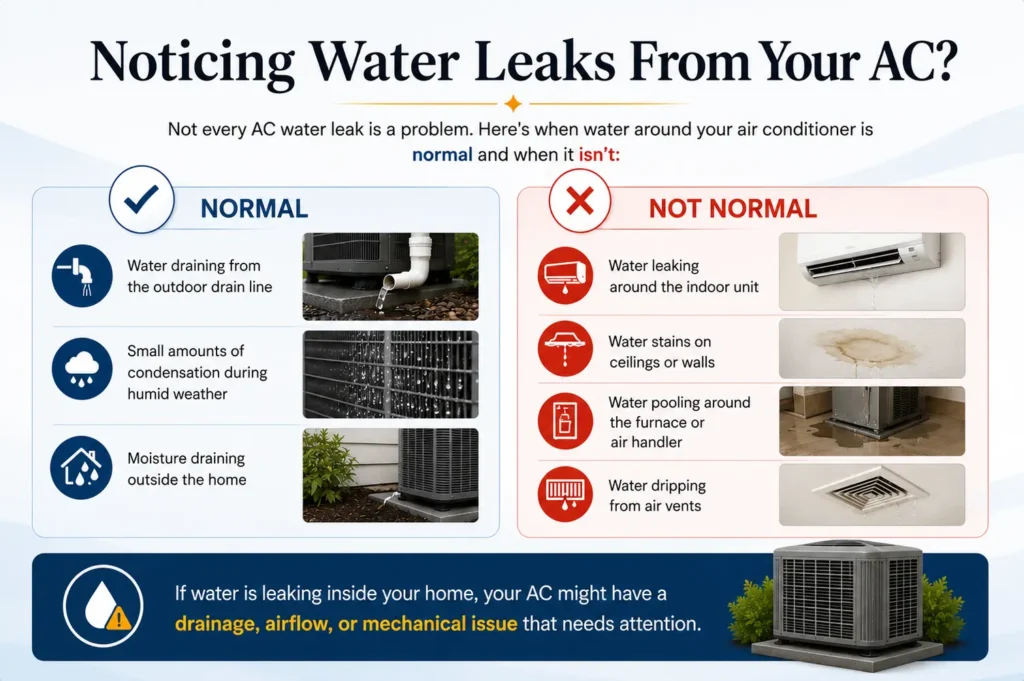
Under normal conditions, the water collects in the drain pan and flows out through the condensate drain line. That’s why it’s completely normal when you see:
- Water dripping from the outdoor drain line
- Moisture draining outside the house
- Condensation around certain AC components during humid weather
However, what’s not normal is:
- Water leaking around the indoor air handler
- Water stains on ceilings or walls
- Puddles forming around the furnace or AC unit
- Water dripping from vents
So, if you’re seeing any of these signs, there’s likely an issue preventing the system from draining properly.
Here are the most common reasons why your AC is leaking water
If you’re wondering why is my AC unit leaking water, the answer comes down to one of a handful of common HVAC issues.
Here, while some issues are simple maintenance problems, others require professional repairs.
Let’s look at the most common causes.
1. Clogged condensate drain line
A clogged condensate drain line is one of the most common reasons homeowners notice water leaking from their air conditioner.
You see, every drop of moisture your AC removes from the air travels through this drain line before leaving the system.
But over time, dirt, dust, algae, mold, and debris can build up inside the pipe. And when that happens, the water has nowhere to go.
So instead of draining properly, it backs up into the system and eventually leaks around the indoor unit.
Some signs of a clogged drain line include:
- Water pooling around the indoor AC unit
- Damp areas near the air handler
- Musty odors near the system
- AC shutting off unexpectedly if a safety switch activates
2. Dirty HVAC air filter
A dirty air filter can cause more problems than you realize.
Your HVAC filter helps maintain proper airflow through the system. But when the filter becomes clogged with dust and debris, airflow becomes restricted.
And as the airflow drops, the evaporator coil gets colder than it should.
Eventually, the evaporator coil begins freezing over. And when the ice finally melts, excess water can overflow the drain system and leak around the unit.
Some signs of a dirty filter include:
- Weak airflow from vents
- Increased dust in the home
- Higher energy bills
- Ice forming on the indoor unit
- Water around the air handler
If you notice any of these signs, you should get an HVAC air filter replacement.
3. Frozen evaporator coil
You might have cleaned the drain line, and even tried other tricks, but to no avail. And you might be wondering why would my AC is still leaking water?
Well, a frozen evaporator coil could be to blame.
The evaporator coil is responsible for absorbing heat from indoor air. But when airflow becomes restricted or refrigerant levels become too low, the coil can become excessively cold and freeze.
At first, you might not notice anything except reduced cooling.
But once the ice starts melting, the drain pan can’t handle the sudden volume of water. That’s when leaks begin appearing around the indoor unit.
Some common signs of a frozen evaporator coil include:
- Ice buildup on refrigerant lines
- Reduced cooling performance
- Weak airflow
- Water leaks after the system shuts off
- Higher indoor temperatures
4. Low refrigerant levels
Low refrigerant is another reason why the AC leaks water.
You see, refrigerant helps your air conditioner absorb heat and cool your home efficiently.
But if refrigerant levels drop because of a leak, the pressure inside the system changes. This can cause the evaporator coil to become too cold and eventually freeze.
Now, the water leak doesn’t come directly from the refrigerant itself. Instead, the frozen coil thaws and produces more water than the drain system can handle.
As a result, water begins leaking around the indoor unit.
Some signs of low refrigerant include:
- Reduced cooling performance
- Warm air coming from vents
- Hissing sounds near the system
- Ice forming on refrigerant lines
- Water leaking after ice melts
Note: This issue should always be handled by a licensed HVAC technician.
5. Damaged or rusted drain pan
Your air conditioner’s drain pan collects condensation before it flows into the drain line.
But older drain pans do often develop:
- Rust
- Corrosion
- Cracks
- Small holes
And when that happens, water escapes before it reaches the drain line. This is what causes water pooling underneath the indoor unit.
Drain pan problems are especially common in older HVAC systems that have been in service for many years. Signs of a damaged drain pan include:
- Water leaking from the bottom of the unit
- Visible rust around the pan
- Standing water beneath the air handler
- Leaks that continue even after the drain line is cleared
6. Condensate pump failure
Not every HVAC system relies solely on gravity to remove water. Some systems use a condensate pump to move collected water to a nearby drain.
But if that pump fails, the water has nowhere to go. So it begins accumulating inside the drain pan until it eventually overflows.
Common signs of condensate pump failure include:
- Water around the indoor unit
- Pump not turning on
- Strange noises from the pump
- Frequent system shutdowns
7. Improper AC installation
Sometimes the problem isn’t maintenance related at all. Instead, it comes down to how the system was installed.
Your air conditioner needs to be properly leveled so that condensation flows toward the drain system.
But the unit is tilted or installed incorrectly, water can collect in the wrong areas and eventually leak out.
Improper installation can also create drainage problems by:
- Affecting condensate flow
- Causing drain pan overflow
- Creating excessive moisture buildup
- Putting stress on system components
While this isn’t the most common cause of AC leaks, it does happen, especially in newer systems that were installed incorrectly.
In short, here are the most common reasons why an AC starts leaking water:
| Problem | What Happens |
| Clogged condensate drain line | Water backs up and overflows inside the system |
| Dirty air filter | Restricted airflow causes coil freezing |
| Frozen evaporator coil | Melting ice creates excess water |
| Low refrigerant | Coil freezes and leaks when thawing |
| Damaged drain pan | Water escapes through cracks or corrosion |
| Condensate pump failure | Water cannot drain properly |
| Improper installation | Condensation doesn’t flow correctly |
How to fix an AC that is leaking water?
Once you’ve identified the possible cause of AC leak, the next step is fixing the issue before it leads to water damage or mold growth.
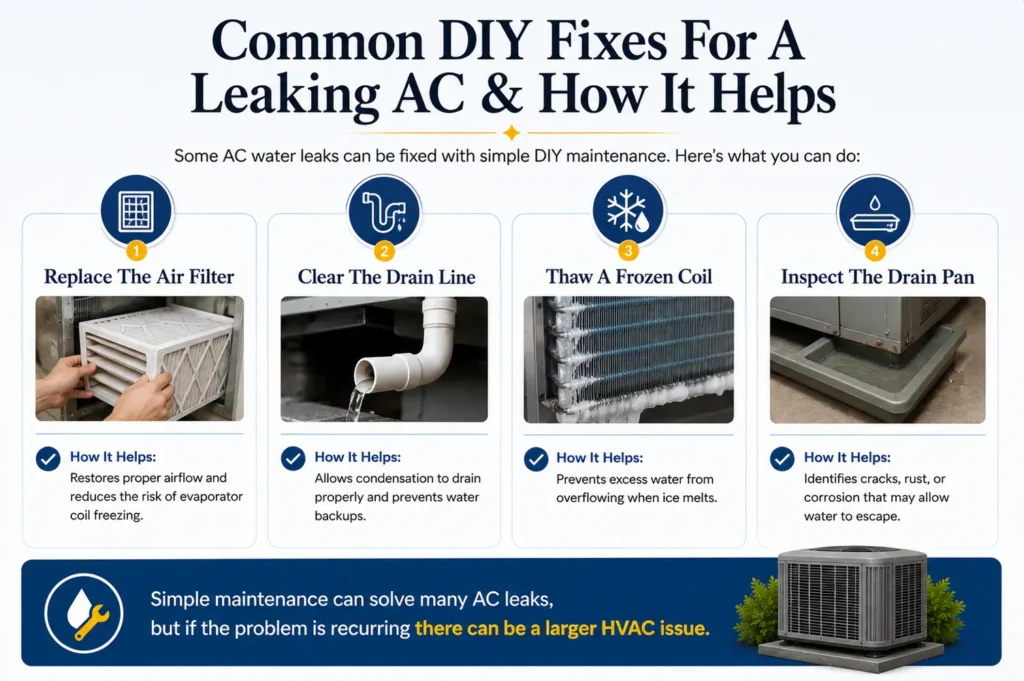
The good part is that some AC leaks can be resolved with simple DIY maintenance.
Here are some practical ways you fix an AC water leak:
1. Replace the HVAC air filter
One of the first things you should check is the air filter. That’s because a clogged filter restricts airflow and increases the risk of evaporator coil freeze-ups.
Thankfully, replacing the filter is quick and inexpensive. Here’s how you can replace air filters:
- Turn off the HVAC system
- Locate the filter compartment
- Remove the old filter
- Install a new filter that matches the system specifications
- Turn the system back on
Pro tip: Always stick to high-quality MERV 8 and MERV 10 air filters.
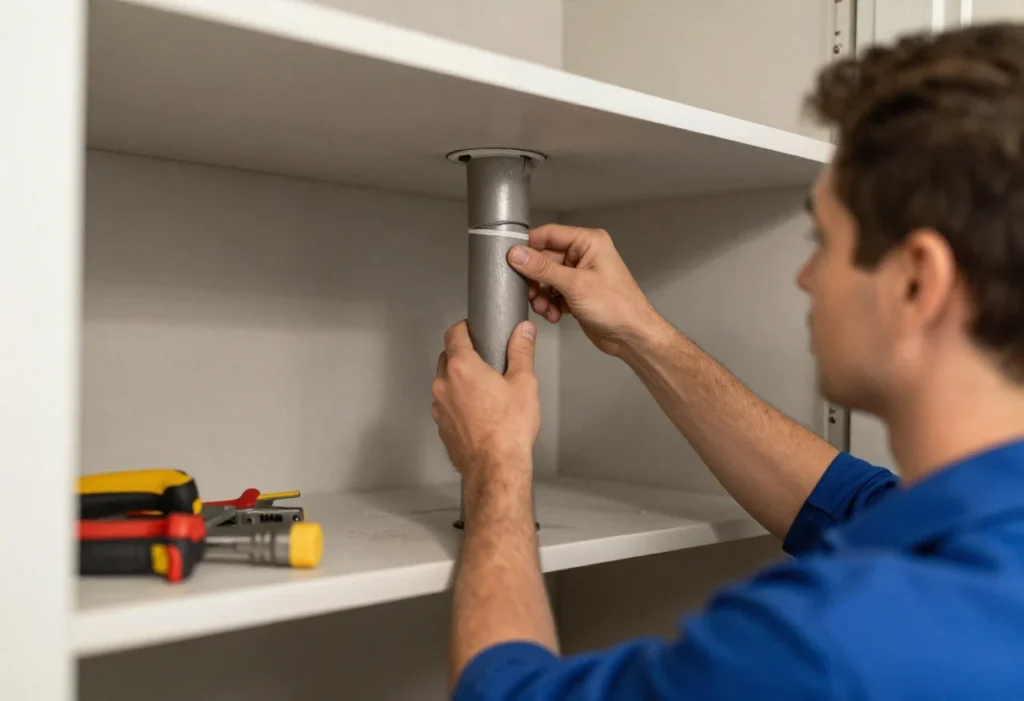
2. Clear the condensate drain line
If a clogged drain line is causing the problem, clearing the blockage may stop the leak.
You can do this yourself. Here’s a simple process you can follow:
- Turn off the HVAC system
- Locate the condensate drain line
- Attach a wet/dry vacuum to the drain outlet
- Remove debris and buildup
- Flush the line with diluted vinegar
This helps restore proper drainage and prevents water from backing up into the system.
3. Let the frozen evaporator coil thaw
If you see ice on the evaporator coil or refrigerant lines, turn the AC off immediately.
Running the system while frozen can cause more damage. So instead, allow the ice to melt completely before restarting the system.
You can also do the following:
- Replace a dirty air filter
- Open blocked vents
- Check for airflow restrictions
Note: If the coil evaporator freezes repeatedly even after troubleshooting, professional diagnosis is the only solution.
4. Inspect the drain pan
If your AC is old, I suggest you inspect the drain pan for signs of:
- Rust
- Corrosion
- Cracks
- Standing water
Here, minor issues can sometimes be repaired. But heavily damaged drain pans will need replacement.
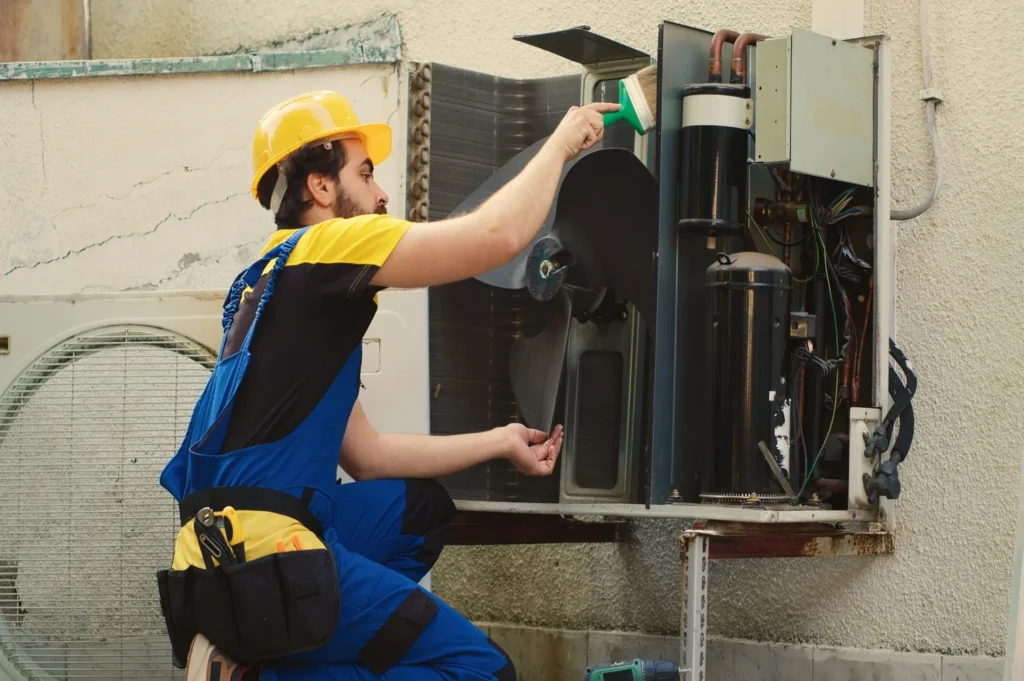
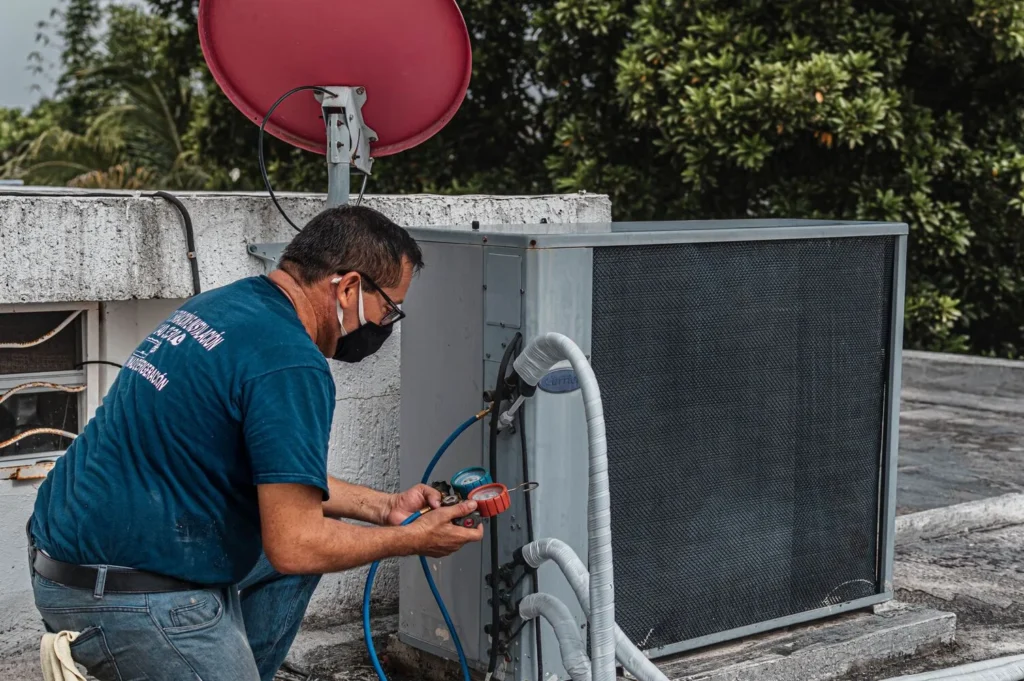
5. Schedule HVAC service for refrigerant or pump issues
Some AC leaks are symptoms of larger mechanical problems. This includes:
- Refrigerant leaks
- Condensate pump failure
- Electrical issues
- Installation defects
These repairs require specialized tools and training.
If you suspect any of these problems, it’s best to schedule professional service rather than attempting a DIY repair.
Bonus: Here’s how to prevent AC water leaks in the Future
| Prevention Step | What To Do | Benefit |
| Change air filters regularly | Replace filters every 1-3 months | Maintains proper airflow and prevents coil freezing |
| Schedule annual HVAC maintenance | Have the system professionally inspected each year | Helps catch problems before they become expensive repairs |
| Keep the condensate drain line clean | Periodically flush the drain line | Prevents clogs and water backups |
| Monitor indoor humidity levels | Use proper ventilation and dehumidification if needed | Reduces excess moisture in the HVAC system |
| Address small HVAC issues early | Don’t ignore unusual noises, weak airflow, or leaks | Prevents larger system failures later |
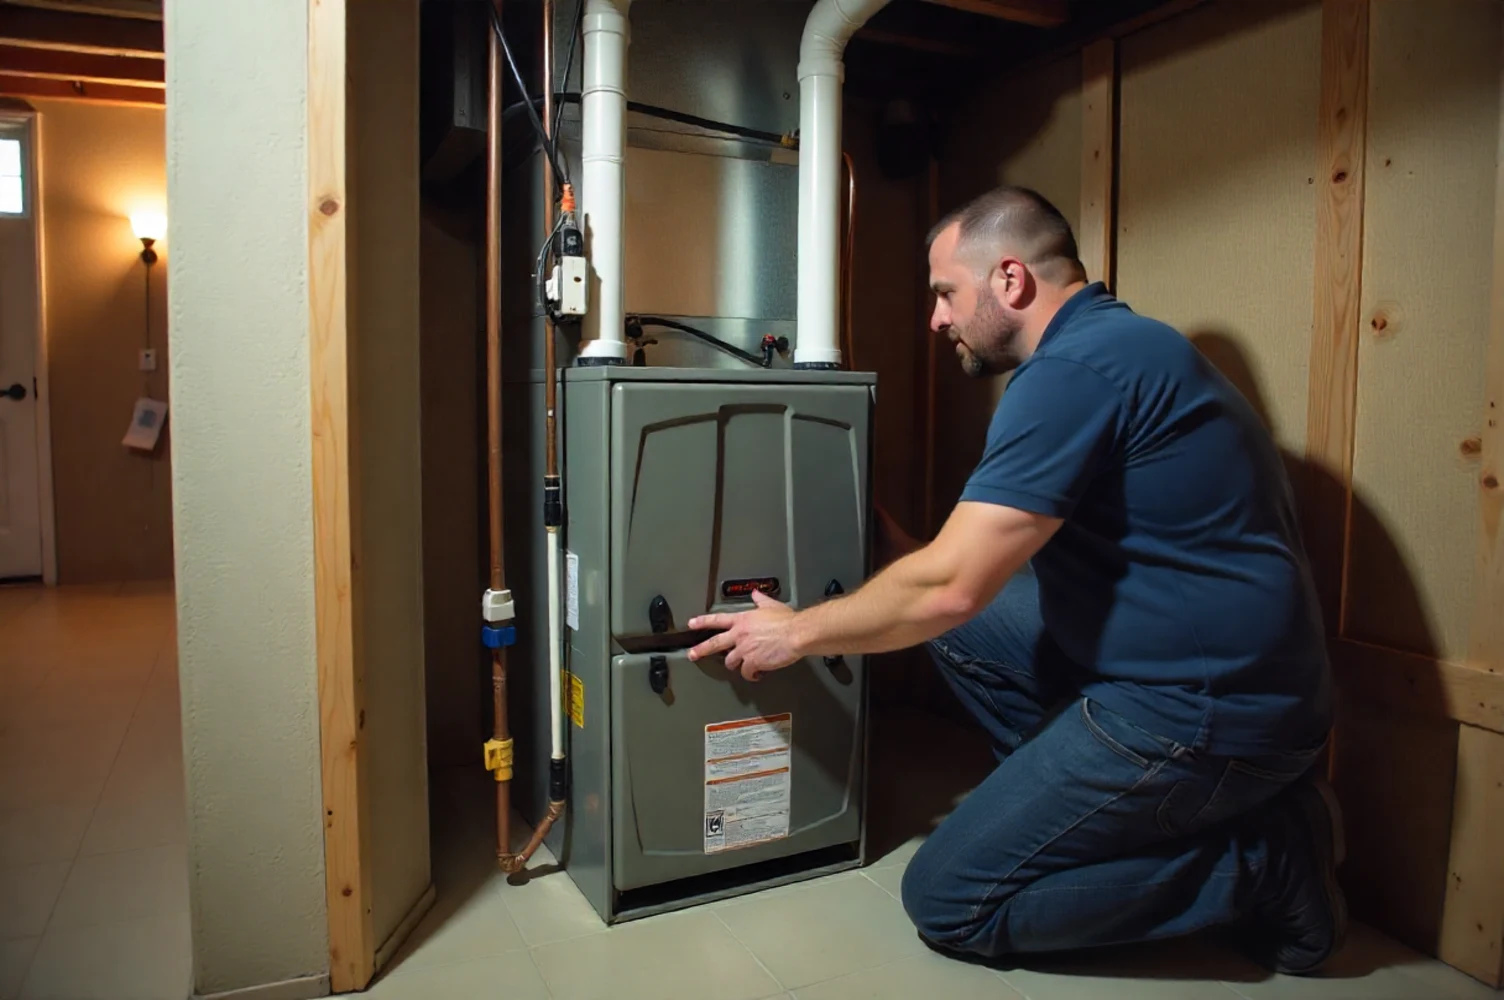
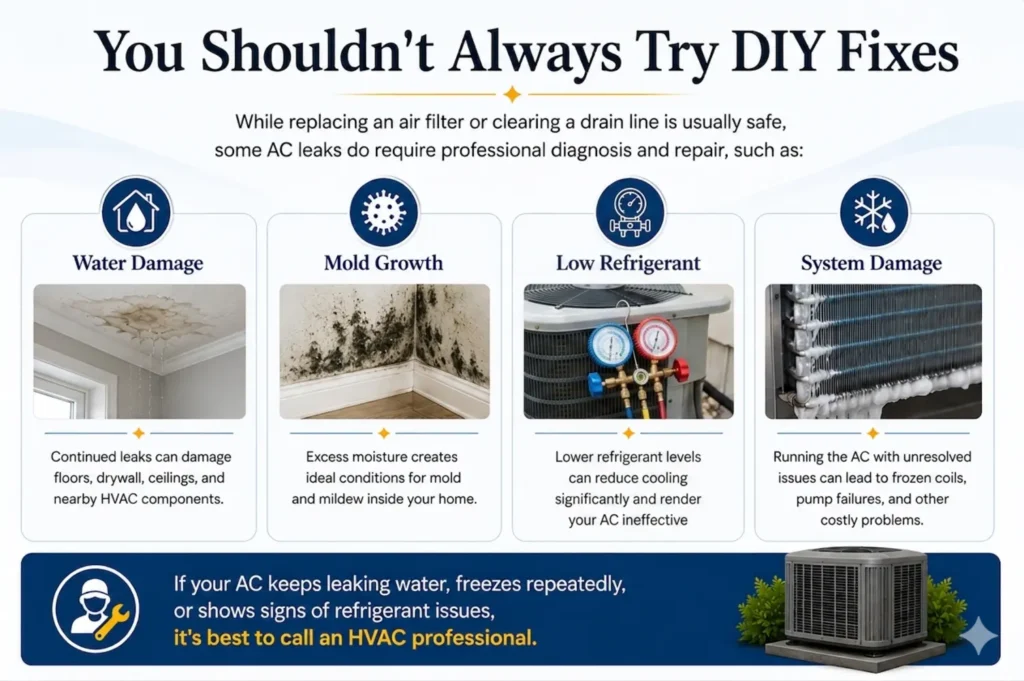
When should you call a professional HVAC technician?
Some AC leaks are simple enough to handle yourself. For instance, replacing a dirty air filter or clearing a minor drain line clog can often solve the problem.
However, there are situations where professional help is the safest and the best option.
Here are some signs it’s time to call an HVAC technician:
| Problem | Why Professional Help Is Needed |
| Refrigerant leak | Requires specialized tools and EPA-certified handling |
| Frozen evaporator coil that keeps returning | Usually indicates a deeper system issue |
| Damaged drain pan | May require replacement parts |
| Condensate pump failure | Electrical and mechanical repairs may be needed |
| Water leaking inside walls or ceilings | Potential water damage requires immediate attention |
| Persistent AC leaks | Full system inspection is needed to find the root cause |
Final words
If you’ve been asking yourself, why is my AC leaking water, the answer usually comes down to a drainage or airflow problem somewhere inside the system.
In most homes, AC water leaks are caused by:
- Clogged condensate drain lines
- Dirty air filters
- Frozen evaporator coils
- Low refrigerant levels
- Damaged drain pans
- Condensate pump failures
Thankfully, some of these issues can be resolved with simple DIY HVAC maintenance. For instance, replacing air filters, clearing drain lines, and scheduling routine inspections can often prevent leaks before they start.
However, if water continues leaking from your AC, or if you suspect refrigerant, electrical, or mechanical issues, professional service is the best way to protect your system and your home.
Got more questions or looking to schedule air duct cleaning in NJ?
You can get in touch with us!
At Clean Air Technologies, we’ve been helping New Jersey homeowners improve indoor comfort and HVAC performance for over 30 years. Our technicians use NADCA-certified methods to clean your air ducts and the entire HVAC system.
FAQs about AC leaking water
Why is my AC leaking water inside the house?
In most cases, water leaking inside the house is caused by a clogged condensate drain line, frozen evaporator coil, dirty air filter, or damaged drain pan.
These issues prevent condensation from draining properly and cause water to overflow inside the HVAC system.
Is it normal for an AC unit to leak water?
Yes, air conditioners naturally produce condensation while cooling your home.
However, the water should drain through the condensate system and exit the home properly. Water leaking around the indoor unit is not normal and usually indicates a problem.
Why does my AC keep leaking water?
If your AC keeps leaking water, there can be an unresolved issue such as a recurring drain line blockage, frozen evaporator coil, low refrigerant level, or condensate pump failure. A professional inspection can identify the underlying cause.
Why is my AC leaking water from the bottom?
A damaged drain pan, clogged drain line, or excess water from a frozen coil can cause water to leak from the bottom of the unit. The exact cause depends on the design and condition of the HVAC system.
Can a dirty air filter cause an AC to leak water?
Yes.
A dirty air filter restricts airflow, which can cause the evaporator coil to freeze. And when the ice eventually melts, excess water can overflow the drain system and leak around the indoor unit.