Have you noticed more dust floating around your home lately?
Maybe your allergies seem worse when the HVAC system kicks on. Or maybe you’ve seen little dust puffs coming out of the vents when the heat or AC starts running.
If this sounds familiar, your home may need professional air duct cleaning in New Jersey to remove dust buildup and improve indoor air quality.
After all, your HVAC system circulates air through the same network of ducts over and over again. And over time, dust, pet hair, pollen, and other debris can settle inside those ducts.
Now, the good news is that you can handle light to moderate dust buildup yourself with a careful DIY cleaning.
All you need are a few tools and a little patience, and you can clean out the accessible part of your ductwork and improve airflow in your home.
In this blog, I’ll walk you through how to clean ductwork safely and effectively. You’ll know:
- What tools you need for DIY duct cleaning
- The step-by-step air duct cleaning process
- The best way to clean air ducts without damaging them
- Common mistakes homeowners make during duct cleaning
- When DIY cleaning isn’t enough and you should hire a professional
So let’s get started.
Key takeaways
- Cleaning your ductwork can improve airflow and reduce dust circulating through your home.
- DIY air duct cleaning works best for light buildup near vents and registers.
- The basic air duct cleaning process involves loosening debris and vacuuming it out.
- Simple tools like a vacuum, brush, screwdriver, and microfiber cloth are usually enough for homeowners.
- Professionals clean entire HVAC systems using negative pressure vacuums and specialized brushes.
- Air ducts typically need professional cleaning every 3-5 years or when contamination is visible.
- If you see mold, pests, or heavy debris inside ducts, it’s best to call a professional.
Is air duct cleaning necessary?
This is one of the most common questions homeowners ask.
And the honest answer is: Sometimes yes, sometimes no.
Air ducts don’t usually need constant cleaning. But some situations can make duct cleaning necessary. This includes:
- Heavy dust buildup inside vents
- Construction or renovation debris
- Mold in air ducts
- Rodents or insect infestation
- Excessive pet hair
- Allergy problems in the household
You see, when debris accumulates inside the duct system, it circulates through your home whenever the HVAC system runs.
So, cleaning ductwork helps remove contaminants like dust, allergens, and debris that can affect indoor air quality. Also, it improves HVAC efficiency because clean ducts allow air to flow more easily.
But that said, cleaning ducts every year usually isn’t necessary. The typical air duct cleaning timeline in most homes is every 3-5 years or when contamination is visible.
Schedule Your Free Estimate Today
Contact us to improve your indoor air
quality with our expert cleaning services in NJ.
How to clean ductwork yourself? 9 Simple steps you can follow
Cleaning ductwork might sound complicated at first. But once you understand the basic air duct cleaning techniques, the process is actually pretty straightforward.
What you want to do is quite simple:
- Loosen debris
- Remove it with a vacuum
In fact, even professional HVAC cleaners follow this exact principle. They follow the NADCA’s standards for air duct cleaning which involves breaking contaminants loose and then collecting them using powerful vacuums.
Let’s see how to clean ductwork following the same principle
Step 1: Gather the required tools
Before you start, it’s important to have the right tools ready.
Thankfully, you don’t need expensive equipment to clean your air ducts. Moreover, you might already have these tools at home.
Here are the tools you need for DIY duct cleaning:
| Tool | Purpose |
| Screwdriver | Remove vent covers and registers |
| Vacuum with hose (preferably HEPA vacuum cleaner) | Remove dust and debris |
| Stiff brush or vent cleaning brush | Loosen debris inside ducts |
| Microfiber cloth | Wipe interior surfaces |
| Flashlight | Inspect duct interiors |
| Gloves & dust mask | Protect yourself from dust |
| New HVAC air filter | Replace after cleaning |
Optional tools:
- Shop vacuum
- Drill-powered brush attachment
- Dryer vent brush kit (for deeper ducts)
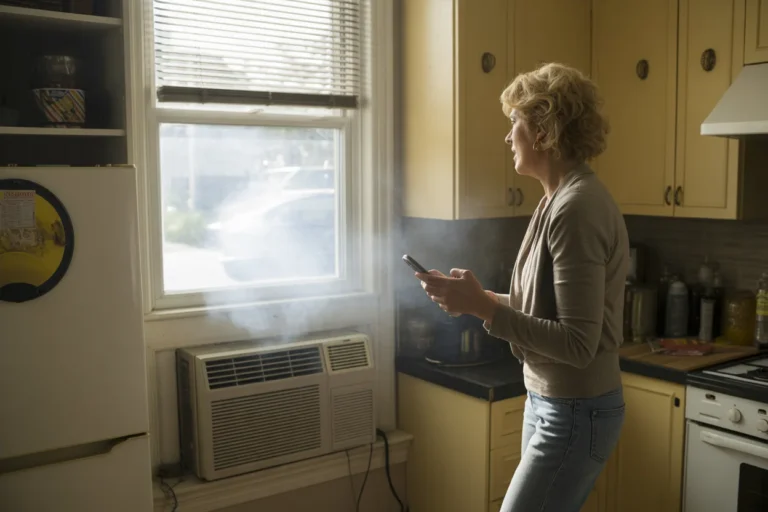
Step 2: Turn off the HVAC system
Before doing any duct cleaning, shut off the HVAC system completely.
Here’s why:
If the system turns on while you’re cleaning, it could blow dust throughout the house.
So, do make sure to:
- Turn off the thermostat
- Shut down the HVAC unit
- Let the system cool down before starting
This step prevents dust from spreading and makes the cleaning process much easier.
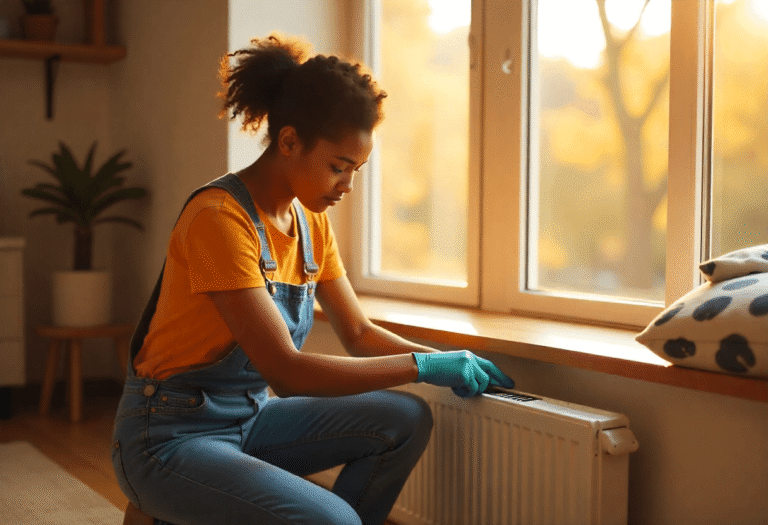
Step 3: Remove and clean vent covers
The first real cleaning step is removing the vent covers.
Here, you can use a screwdriver to first remove each register or grille.
Once removed:
- Wash them with warm soapy water
- Scrub away dust buildup
- Let them dry completely
I have already explained DIY vent cleaning methods in detail in my blog about how to clean air vents.
Vent covers often collect years of dust and grease, especially in kitchens and bathrooms. And cleaning them alone can noticeably improve airflow.
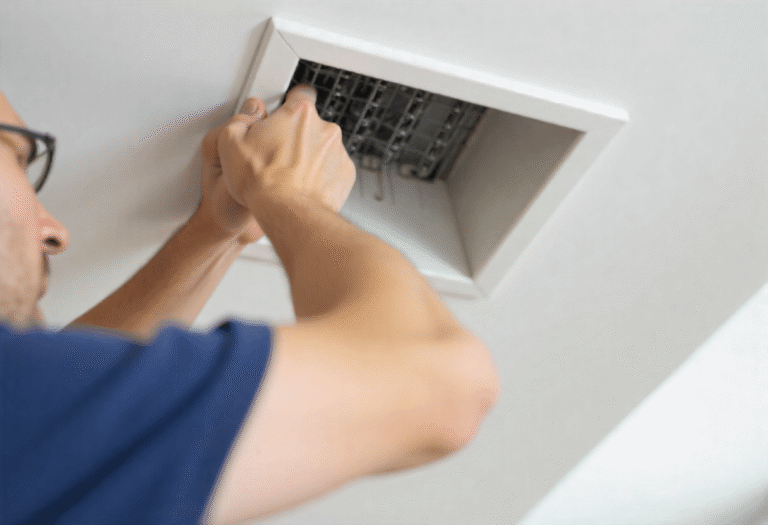
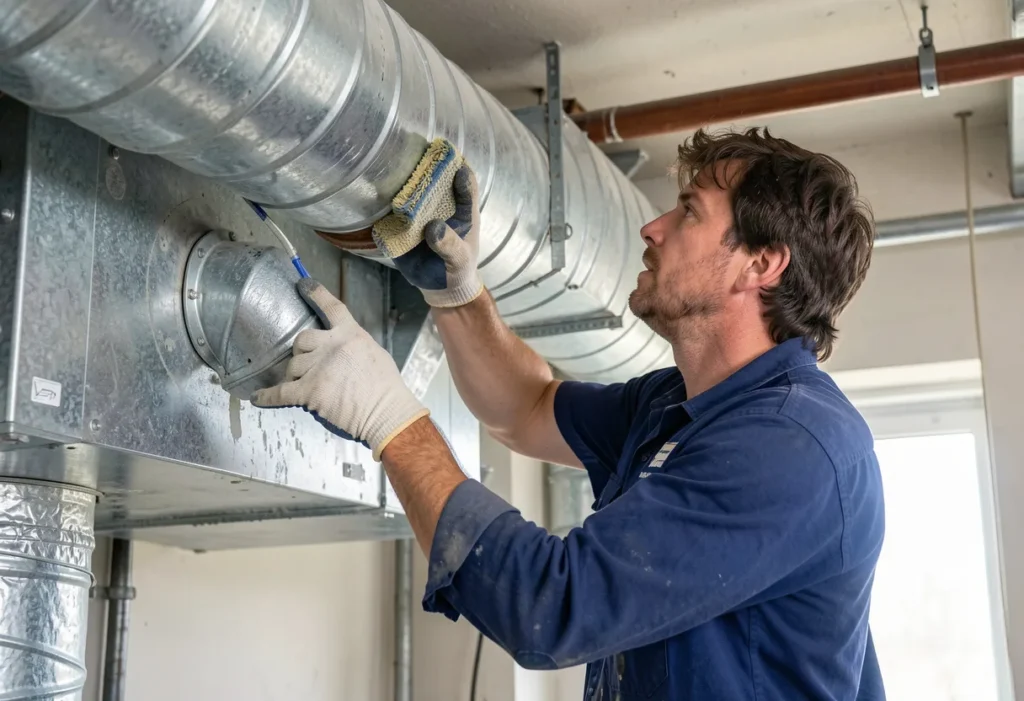
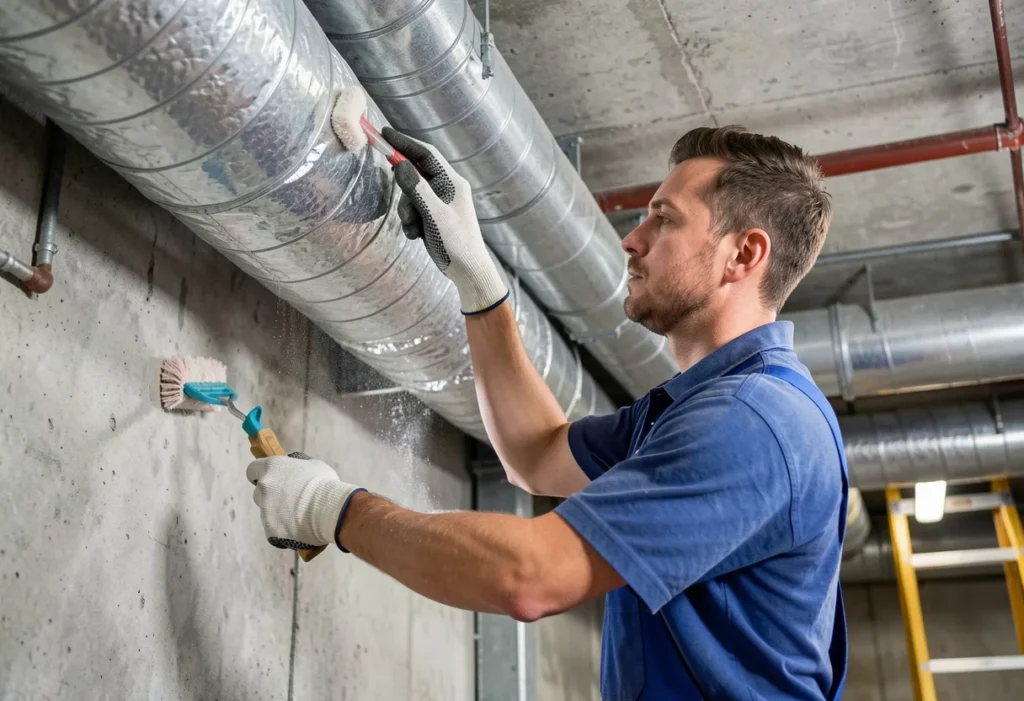
Step 4: Loosen dust inside the ducts
Now it’s time to start cleaning inside the ductwork. You can use a brush or cleaning tool to:
- Reach inside the duct
- Gently scrub the inner surfaces
- Loosen dust and debris
This is one of the most important air duct cleaning methods because dust should be loosened before it can be removed.
Duct cleaning professionals use rotary brushes, air whips, or compressed air tools to do the same thing. But for DIY cleaning, a simple brush works just fine for reachable areas.
Take your time and work slowly. You don’t want to damage the duct lining.
Step 5: Vacuum the duct interior
After loosening debris, vacuum the duct thoroughly.
Start with using the vacuum hose to reach as deep as possible. And then move the hose slowly inside the duct while rotating it.
A shop vacuum or HEPA vacuum works best because it can capture fine particles. Professional duct cleaners use these vacuums because they are powerful and create negative pressure to pull contaminants out of the duct system.
Your household vacuum won’t be as powerful, but it can still remove a lot of debris from accessible areas.
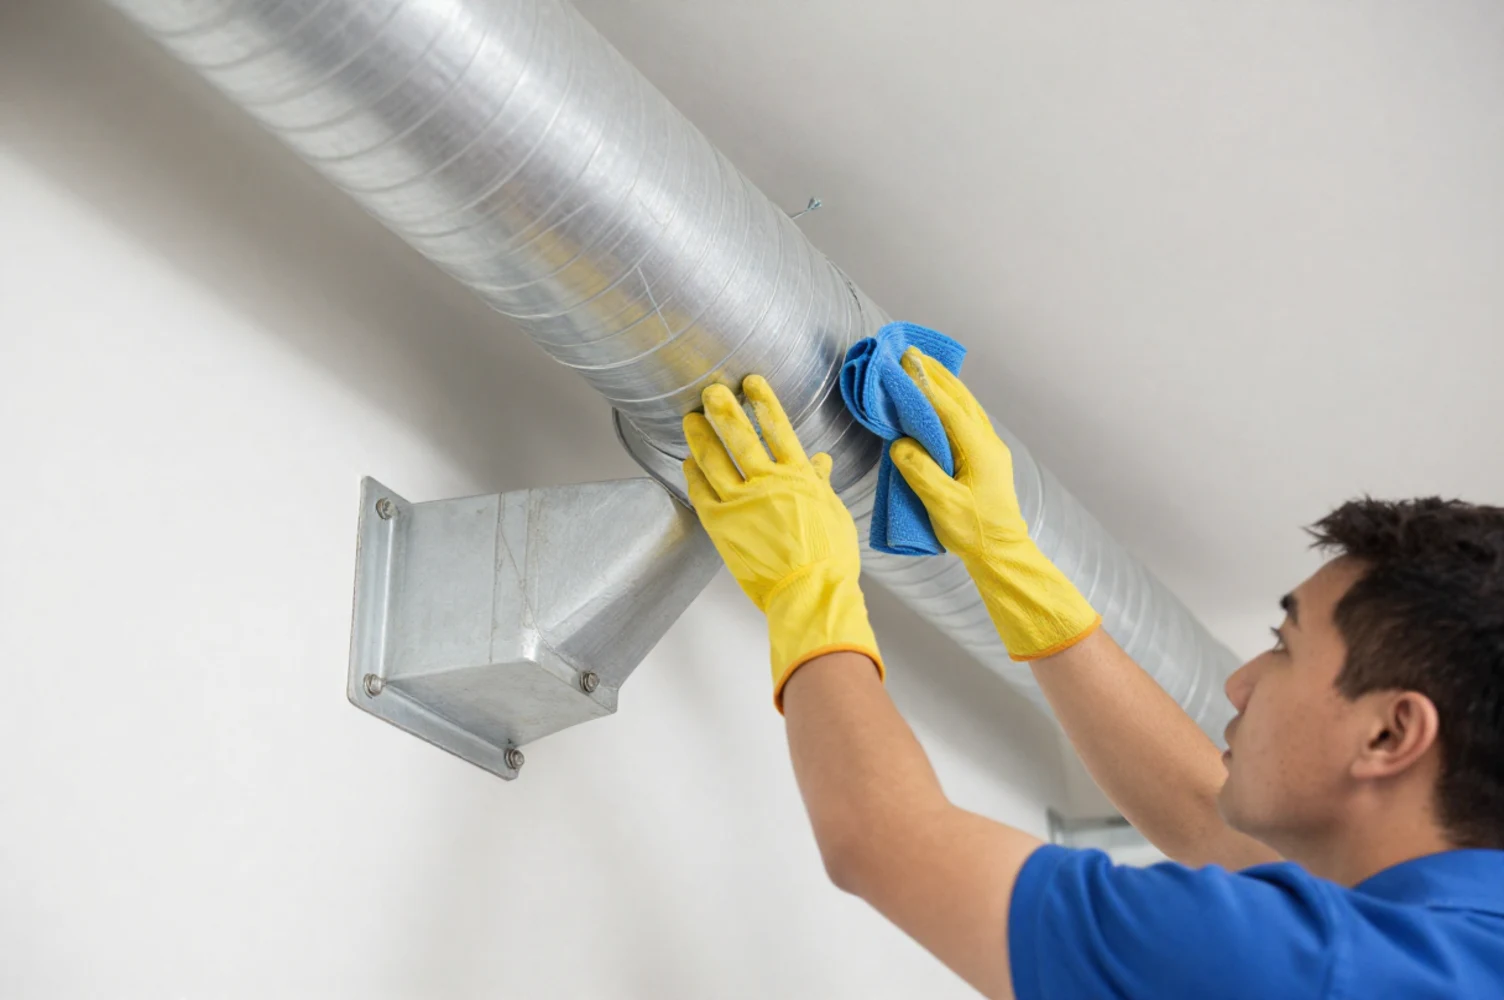
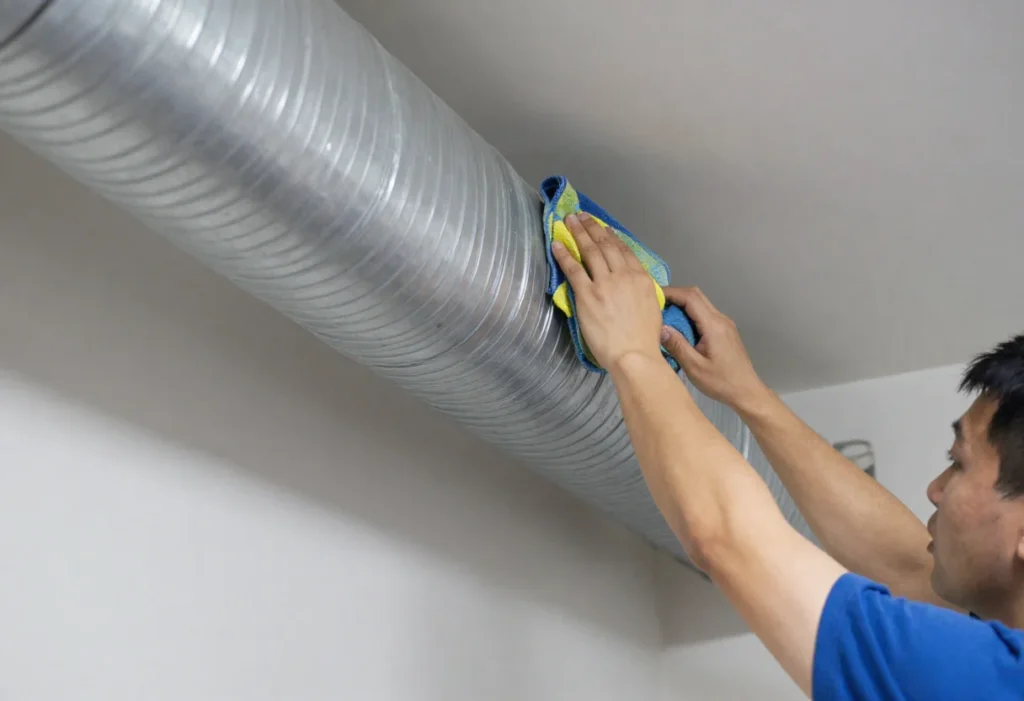
Step 6: Wipe the duct surfaces
Once most debris is vacuumed out, wipe the interior surfaces. You can use a slightly damp microfiber cloth to wipe:
- Inner duct walls
- Edges near the register
- Any remaining dust clumps
Repeat this until the cloth comes out clean.
This step helps remove fine dust that the vacuum might miss.
Step 7: Clean return air registers
Return vents usually collect the most dust in a home. That’s because they constantly pull air back into the HVAC system.
So, make sure to clean them thoroughly. Here are the cleaning steps you can follow:
- Remove the return grille
- Vacuum inside the duct
- Brush and wipe interior surfaces
- Clean the grille before reinstalling
Step 8: Replace the HVAC air filter
HVAC air filter replacement is very important. That’s because your air filter likely captured a lot of dust during the cleaning process.
So replace it immediately.
I suggest you install a high-efficiency filter rated MERV 8 or higher for better filtration.
A clean filter will help prevent dust from re-entering the duct system.
Step 9: Reassemble and test the system
Finally, reinstall all vent covers and turn the HVAC system back on.
Let the system run for about 10-15 minutes. And then check there’s:
- Normal airflow
- No rattling sound
- Dust blowing from vents
If everything looks good, your DIY air duct cleaning is complete.
In short, here’s how to clean your air ducts:
| Step | What To Do |
| Turn off HVAC system | Prevent dust from spreading |
| Remove vent covers | Wash and dry them |
| Brush inside ducts | Loosen debris |
| Vacuum ducts | Remove dust and particles |
| Wipe duct walls | Clean remaining debris |
| Clean return vents | Remove heavy dust buildup |
| Replace HVAC filter | Improve air quality |
| Reassemble and test | Ensure proper airflow |
What is the best way to clean air ducts?
The best way to clean ductwork depends on the level of contamination.
For instance, if your ductwork has light dust buildup, DIY cleaning using a brush and vacuum works well.
But if there’s deeper contamination, professional cleaning is the go-to method. Professionals use source removal cleaning. This involves:
- Creating negative pressure with a powerful vacuum
- Using rotating brushes or air whips
- Pulling debris into a sealed vacuum system
This approach is considered the industry standard for air duct cleaning. It ensures dust and contaminants are removed instead of spreading through the home.
Does air duct cleaning make a mess?
The short answer: It can, if you’re not careful.
You see, when dust gets loosened inside ducts, it can fall out through the vent openings.
That’s why professionals use sealed vacuum systems that keep the entire HVAC system under negative pressure during cleaning.
For DIY cleaning, you can reduce the mess by:
- Placing towels under vents
- Vacuuming while brushing
- Cleaning one vent at a time
Common mistakes homeowners make during DIY air duct cleaning process
A lot of homeowners unintentionally make small mistakes that reduce air quality or damage the system. It is important you know these common errors as it will help you clean more safely and efficiently.
Here are the most common mistakes people make when cleaning ductwork.
Mistake #1: Only cleaning the vents
Many homeowners simply clean the vent covers and call it a day.
But the HVAC system includes many components such as:
- Ducts
- Coils
- Blower motor
- Drain pan
- Air filter
- Heat exchanger
And cleaning only part of the system can lead to recontamination later.
Mistake #2: Using wet cleaning methods
Water should never be sprayed inside duct systems. That’s because moisture can lead to mold growth inside the ducts.
Professional guidelines warn against wet cleaning methods like steam or power washing inside HVAC systems.
Mistake #3: Using the wrong brush
Rotary brushes can damage certain types of ductwork. This is especially true for flexible ducts and fiberglass ducts that can tear easily.
I suggest you always use soft brushes for delicate systems.
Mistake #4: Skipping the air filter replacement
After cleaning ducts, a dirty filter can quickly contaminate the system again. So, always install a fresh filter once the cleaning is complete.
Mistake #5: Trying to clean deep duct runs
DIY tools can only reach a few feet inside the ducts. And trying to push tools deep into the system can damage the duct lining.
If your ducts run through walls or ceilings, professional cleaning is usually a safe option.
In short, here are the mistakes homeowners make during DIY air duct cleaning process:
| Mistake | Why It’s a Problem | What To Do Instead |
| Only cleaning vent covers | Dust deeper in the duct remains and keeps circulating | Clean inside the ducts and return vents too |
| Using wet cleaning methods | Moisture can lead to mold growth inside ducts | Use dry brushing and vacuum cleaning |
| Using stiff or rotary brushes on delicate ducts | Can tear flexible or fiberglass ductwork | Use soft brushes and gentle tools |
| Skipping air filter replacement | Dirty filters re-contaminate the system quickly | Install a new HVAC filter after cleaning |
| Trying to clean deep duct runs | Household tools can’t reach far and may damage ducts | Call a professional for deep cleaning |
Bonus: Here’s when to hire a professional for cleaning ductwork
| Problem | Why Call a Professional |
| Visible mold inside ducts | Mold requires specialized cleaning and containment |
| Pest infestation in ductwork | Professionals safely remove nests and contamination |
| Heavy dust or renovation debris | Requires high-powered vacuum systems |
| Very long or complex duct runs | Specialized tools are needed to reach deep ducts |
| Persistent allergies or poor air quality | Full HVAC system cleaning may be necessary |
Schedule Your Free Estimate Today
Contact us to improve your indoor air
quality with our expert cleaning services in NJ.
Final words
By now, you should have a clear understanding of how to clean ductwork safely and effectively.
While duct cleaning might seem complicated at first, basic maintenance is actually manageable for most homeowners.
With the right tools and careful technique, you can:
- Remove dust buildup
- Improve airflow
- Maintain your HVAC system
But remember, DIY cleaning is mainly for accessible ducts and light buildup.
If your system has heavy contamination, mold, or deep duct runs, it’s always safer to call a professional.
Got more questions or need residential or commercial duct cleaning in New Jersey?
You can get in touch with us!
At Clean Air Technologies, we’ve been helping New Jersey homeowners improve indoor air quality for over 30 years.
Our NADCA-certified technicians use professional equipment to:
- Clean entire HVAC systems
- Remove dust, debris, and allergens
- Improve airflow and efficiency
If your ductwork needs a deep cleaning or inspection, we’re here to help.
FAQs about how to clean ductwork
How often should you clean your air ducts?
Most homes only need professional duct cleaning every 3–5 years.
However, homes with pets, allergies, or heavy dust may benefit from more frequent cleaning.
Can I clean my air ducts without professional equipment?
Yes, basic cleaning of vents and accessible ducts can be done with household tools like a vacuum and brush.
But deep duct systems usually require professional equipment.
How do professionals clean air ducts?
Professionals use specialized equipment that places the HVAC system under negative pressure using powerful vacuums.
They then use brushes, air whips, or compressed air tools to loosen debris so the vacuum can remove it safely.
What are the most common air duct cleaning methods?
The most common methods include:
- Rotary brush cleaning
- Air sweep (push-pull) cleaning
- HEPA vacuum extraction
These methods are designed to loosen debris and remove it from the HVAC system.
Will duct cleaning reduce dust in my home?
Yes, it can help reduce circulating dust, especially if the ducts contain heavy buildup.
However, dust also comes from everyday sources like carpets, furniture, and clothing fibers. So, regular cleaning and good air filters are equally important.