Most homeowners don’t think twice about their air vents. At least not until they start seeing dust buildup, smelling something funky, or noticing uneven airflow.
This is especially true for New Jersey where your typical air vents collect a lot of dust, pet hair, pollen, and even mold spores.
And when that happens, it’s not just your air quality that takes a hit. That’s because dirty vents can trigger allergies, increase energy bills, and reduce your HVAC system’s lifespan.
But there’s a silver lining too.
You see, cleaning your vents doesn’t have to be complicated. In fact, with a few basic tools and a little elbow grease, you can get the job done in less than an hour.
In this blog, I’ll walk you through exactly how to clean air vents the right way. You’ll learn:
- Simple steps to clean air vents
- When to schedule air vent cleaning
- Why is air vent cleaning so important
- When to DIY it and when to call in the pros
So, let’s get started.
Key takeaways
- Dirty air vents can cause poor air quality, odors, and higher energy bills.
- You can clean vents at home using basic tools like a vacuum and screwdriver.
- Always turn off your HVAC system before starting the cleaning process.
- Soak, scrub, and dry the vent covers for best results.
- Vacuum inside the vents to remove dust, dirt, and allergens.
- Wipe surrounding areas to prevent re-contamination.
- Clean air vents every 3-6 months, or monthly if you have pets or allergies.
- Regular cleaning improves airflow, reduces allergens, and extends HVAC life.
- Call a professional if there’s mold, pests, or deep buildup in your ducts.
How to clean air vents the right way?
Cleaning air vents might sound complicated at first. But it is much easier than you might think, especially when you have the right tools on hand.
You won’t need anything fancy, just everyday household items like a vacuum with a brush attachment, a screwdriver, and some warm soapy water.
The process is straightforward too: Turn off your HVAC system, take off the vent covers, clean both the covers and inside the ducts, then put everything back in place.
That sounds easy, doesn’t it?
I’ve explained how to clean the vents from start to finish in detail. Let’s have a look.
First off, get the right tools for cleaning
The best part about cleaning air vents at home is you don’t need any special equipment or expensive tools. In fact, you might already have most of the necessary tools lying around your house.
Overall, here are all the tools you’ll need:
Basic cleaning supplies like:
- Vacuum cleaner (with hose and brush attachment)
- Screwdriver (to remove vent covers)
- Bucket of warm, soapy water (mild dish soap works great)
- Microfiber cloths or old rags
- Paper towels (optional)
- Soft-bristled brush or old toothbrush
Other optional cleaning essentials like:
- White vinegar (for disinfecting vent covers)
- Degreaser (for kitchen vents that get greasy)
- Dryer vent brush or long flexible brush (for deeper reaches)
- Face mask and gloves (especially if you’re dust-sensitive or dealing with mold)
In short, here are all the tools you’ll need to clean air vents:
| Basic Tools | Optional Add-ons |
| Vacuum with brush attachment | White vinegar (for disinfecting) |
| Screwdriver | Degreaser (for greasy vents) |
| Warm soapy water (mild soap) | Dryer vent brush or long flexible brush |
| Microfiber cloths or old rags | Face mask and gloves (for allergies/mold) |
| Paper towels (optional) | Rubber band & cloth (DIY brush attachment) |
| Soft-bristled brush/toothbrush |
Pro tip: if you don’t have a vacuum brush attachment, simply wrap a cloth around the hose and secure it with a rubber band. This will help trap dust without scratching anything.
Schedule Your Free Estimate Today
Contact us to improve your indoor air
quality with our expert cleaning services in NJ.
Then, follow the right steps to clean air vents
Now that you’ve got your tools ready, let me walk through exactly how to clean air vents without making a mess or damaging anything.
Whether you’re cleaning floor vents in your living room or ceiling vents in the bathroom, these steps apply to every type of HVAC vent in your home.
I will keep it simple, safe, and effective. Just follow along, and by the end, your vents will be breathing better (and so will you).
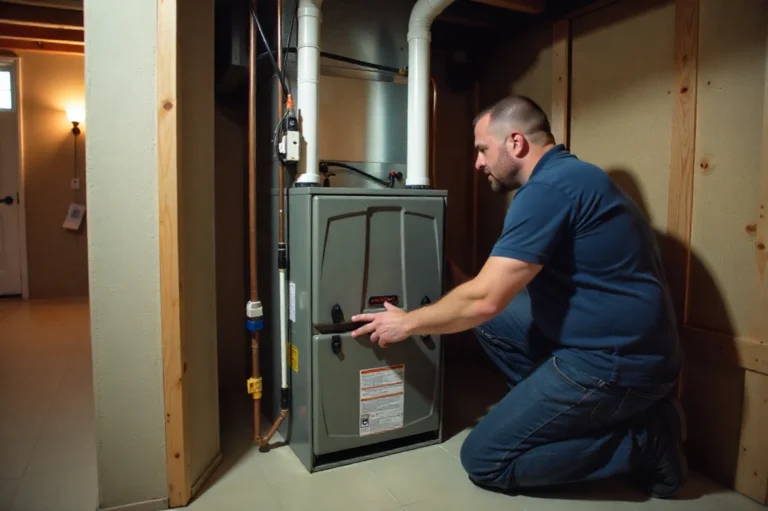
Step 1: Turn off your HVAC system
Before you do anything, make sure your heating or cooling system is turned off.
Why?
Well, because if the system kicks on while you’re cleaning, it can blow dust all over the place. Or worse, suck loose debris deeper into the ducts.
You definitely don’t want that.
So, just head over to your thermostat and switch the system off completely. And if you want to be extra safe, you can also flip the breaker for your HVAC system, especially if you’re cleaning multiple vents at once.
Now you’re ready to get started.
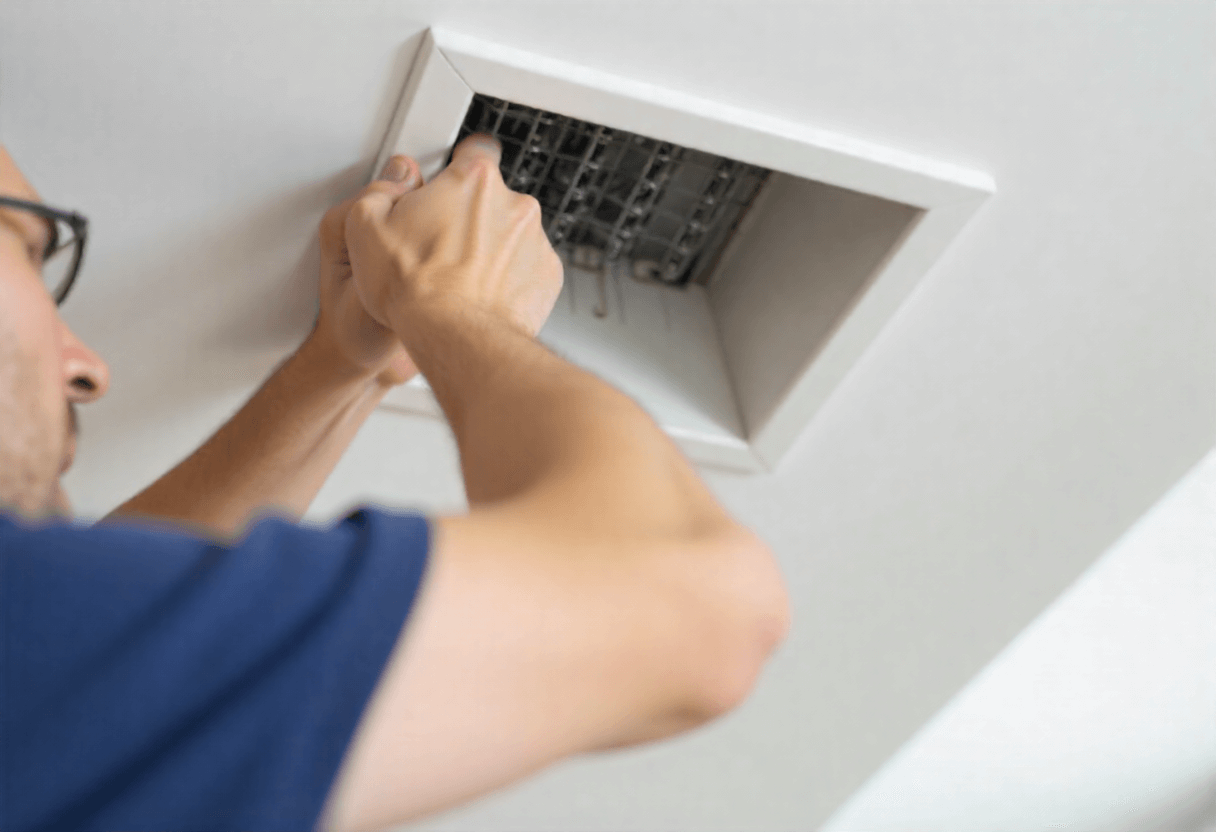
Step 2: Remove the vent covers
Once your system is off, go ahead and remove the vent covers. These are the grilles or registers you see on your floors, ceilings, or walls.
Most vent covers are secured with just a couple of screws, so grab your screwdriver and carefully loosen them. And if they’re not screwed in, they will simply lift out with a little tug.
Be gentle here, especially with older covers, as they can crack or bend easily.
Once removed, set the screws aside in a small container so you don’t lose them. You’ll need them when it’s time to put everything back.
Step 3: Soak and scrub the covers
Now that the covers are off, it’s time to give them a good cleaning. You’d be surprised how much dust, grease, and even pet hair can build up on them over time.
Fill a bucket or sink with warm water and a few drops of mild dish soap. If the covers are grimy (like kitchen vents), you can add a splash of white vinegar or a bit of degreaser.
Let them soak for 10-15 minutes, then scrub them gently with a soft brush or old toothbrush. Then, rinse thoroughly and set them aside to dry completely.
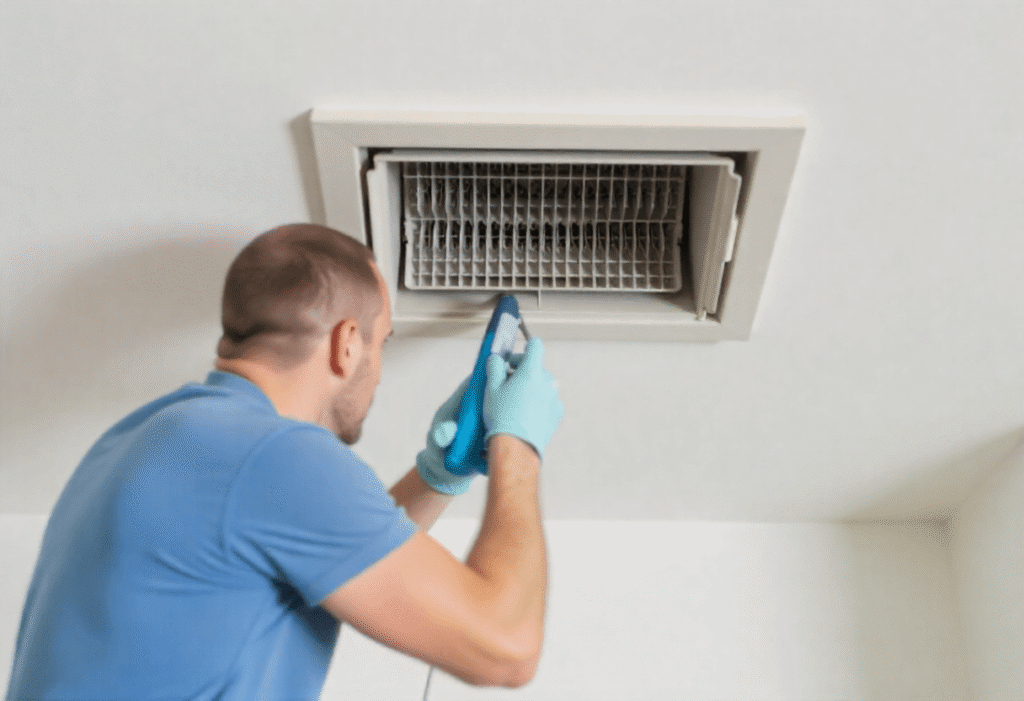
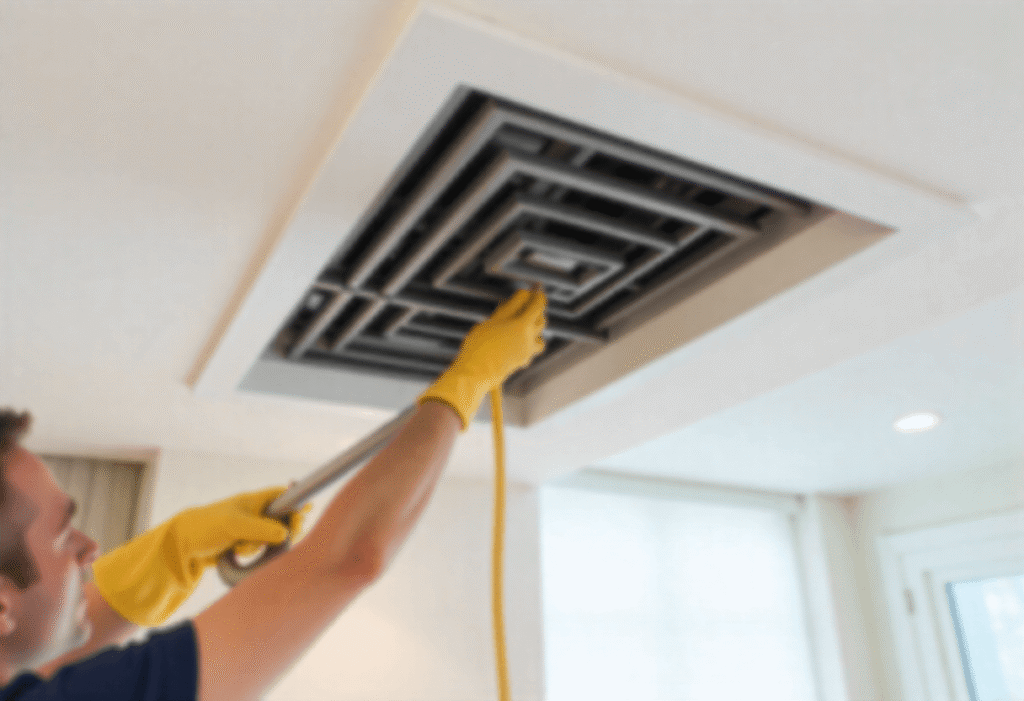
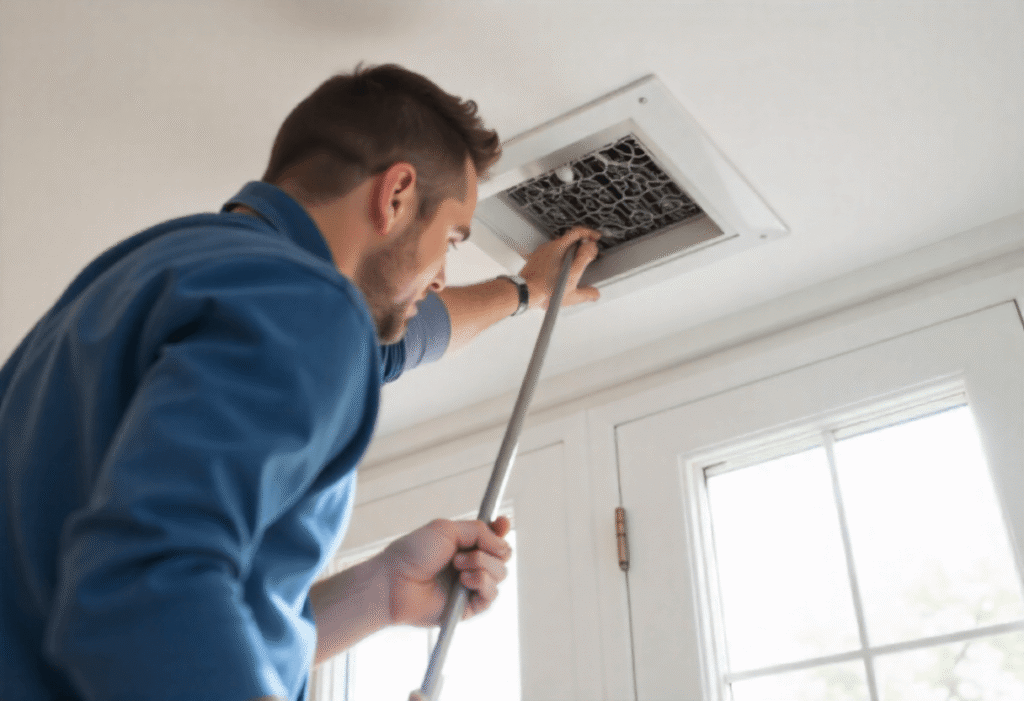
Step 4: Vacuum inside the vent
While your vent covers are drying, it’s time to tackle the inside of the vents themselves.
You can use your vacuum cleaner with a hose and brush attachment to carefully remove dust, dirt, and debris from inside the vent openings.
Gently reach as far as you can into the duct without forcing the hose or damaging the ductwork. And if you notice any stubborn buildup, use a soft brush to loosen it before vacuuming again.
This step helps prevent dust from blowing back into your home when you turn your HVAC system back on.
Step 5: Wipe down the vent edges and nearby areas
Next, take a damp microfiber cloth or rag and wipe around the edges of the vent opening as well as the surrounding wall, floor, or ceiling area.
This helps catch any lingering dust or dirt that the vacuum might have missed and prevents it from settling back once you reinstall the covers.
Note: If you spot any stubborn grime, a gentle all-purpose cleaner can do the trick. Just avoid soaking the area too much to protect your walls and floors.
Step 6: Reattach the vent covers
Once your vent covers are completely dry, it’s time to put them back.
Carefully align the covers with the vent openings and secure them with the screws you set aside earlier. If your covers just snap in place, press gently but firmly to avoid bending or cracking.
Make sure everything is snug but not over-tightened. This prevents damage and keeps the vents looking neat.
Step 7: Turn system back on
Now that everything is clean and back in place, it’s time to switch your HVAC system back on.
You should immediately notice fresher, cleaner air circulating through your home. Plus, your system will run more efficiently without dust and debris clogging up the vents.
In short, here are all the steps to clean air vents:
| Step | What to Do |
| 1. Turn off HVAC system | Prevents dust from spreading or debris being sucked in. |
| 2. Remove vent covers | Use a screwdriver or lift gently to avoid damage. |
| 3. Soak & scrub vent covers | Clean with warm soapy water and soft brush; add vinegar for grime. |
| 4. Vacuum inside vents | Use a brush attachment to remove dust and debris from duct openings. |
| 5. Wipe surrounding area | Clean the wall/floor around the vents with a damp cloth. |
| 6. Reattach dry covers | Once dry, secure vent covers back in place. |
| 7. Turn system back on | Enjoy cleaner air and more efficient airflow. |
How often should you clean air vents in New Jersey?
So far, you know how to clean air vents and maintain a good indoor air quality.
But how often should you clean them in NJ?
This is something that depends on your home, location, and overall lifestyle.
Here’s when you need to dust, deep clean, and pay extra attention.
Light dusting every few weeks
Dust tends to build up quickly on vent covers. So, a simple dusting every few weeks helps keep surface dirt from accumulating and blowing into your rooms.
Deep cleaning every 3 to 6 months
A thorough cleaning of your vents every 3 to 6 months helps remove deeper dust, debris, and allergens, just like the ideal air duct cleaning frequency. This keeps your air fresh and your HVAC system running smoothly.
Pet owners and allergy prone homeowners should clean every month
If you have pets or suffer from allergies, you should clean air vents and change air filters every month. This extra care reduces allergens and helps everyone breathe easier.
In short, here’s how often to clean air vents in New Jersey:
| Situation | Cleaning Frequency |
| General maintenance | Every 3-6 months |
| Dusting the vent covers | Every few weeks |
| Homes with pets or allergy sufferers | Every month |
| Deep duct cleaning | Every 3-5 years |
Why is it so important to clean the vents?
You might be thinking, it’s just a little dust, what’s the big deal?
Well, a lot more goes on inside your vents than most people realize.
Over time, dust, dirt, pet hair, pollen, and even mold spores can build up inside your air vents. And once your HVAC system turns on, all of that gets blown right back into the air you breathe.
Still not convinced?
Here’s why it is essential to clean your HVAC air vents:
1. Better air quality
When your vents are clogged with dust and debris, your HVAC system ends up circulating dirty air throughout your home.
This leads to more sneezing, coughing, and flare-ups for anyone with asthma or allergies, especially during allergy season in New Jersey.
2. More efficient airflow
Dusty vents and registers make it harder for air to pass through. And that forces your system to work harder, which means longer run times, higher energy bills, and uneven temperatures in your rooms.
Cleaning the vents regularly gives your system room to breathe and run efficiently.
3. Fewer odors and less mold
Musty smells coming from your vents?
This could be moisture buildup. And where there’s moisture, mold can follow.
Regular vent cleaning helps prevent those nasty odors and keeps moisture-prone areas like bathrooms and laundry rooms healthier.
4. Longer-lasting HVAC system
When your vents are clogged, your system has to work double time just to push air through.
This extra strain can wear out parts faster and shorten your HVAC system’s lifespan. So, a little cleaning now can save you big money down the road.
5. Fire safety (especially for dryer vents)
Lint and debris buildup in dryer vents is one of the most common causes of house fires. And while this guide focuses on HVAC air vents, it’s a good idea to clean out your dryer vent every 6-12 months.
Bottom line: Clean vents don’t just look better, they help your home feel better. And if you’ve got kids, pets, or allergies in the mix, it’s even more important to stay ahead of the dust.
Schedule Your Free Estimate Today
Contact us to improve your indoor air
quality with our expert cleaning services in NJ.
Final thoughts
By now, you know how to clean air vent at home using basic tools and handyman skills.
As you can see, cleaning your air vents isn’t as hard as it sounds. Also, doing it regularly can make your home feel noticeably fresher, cleaner, and healthier.
With just a few basic tools and a little time, you can reduce dust, improve airflow, and help your HVAC system run more efficiently.
Not sure where to start?
We can help!
At Clean Air Technologies, we’ve been keeping New Jersey homes fresh and healthy for over 28 years. And our HVAC technicians can help you keep your air vents clean affordably for months.
FAQs about how to clean vents in home

Do I need to clean both the vent covers and the inside of the vents?
Yes!
Wiping just the covers helps a little. But it’s the inside of the vent where dust, dirt, and allergens collect.
Cleaning both the covers and the inside of the vent ensures better airflow and a fresher home.
How can I tell if my vents are dirty enough to need cleaning?
Some signs include:
- Dust buildup around or inside the vent grilles
- Reduced airflow from your vents
- More dust than usual settling on your furniture
- Musty or stale odors when your HVAC system is running
If you’re seeing or smelling any of these, it’s time for a cleaning.
What’s the difference between cleaning air vents and duct cleaning?
Cleaning air vents involves removing dust and dirt from the visible parts, like the grilles and the first few feet of duct behind them.
Air duct cleaning, on the other hand, is a professional service that goes deep into your HVAC system to remove debris, mold, and allergens from the entire ductwork.
You can read my blog on the difference between ducting and venting to understand how vents and ducts differ.
Can dirty vents really affect my health?
Yes, especially if you have allergies, asthma, or other respiratory sensitivities.
Dirty vents can circulate dust, pollen, pet dander, and even mold spores throughout your home.
Regular vent cleaning reduces airborne irritants and improves the overall quality of the air you breathe.
Is it safe to clean vents myself, or should I always hire a pro?
Cleaning vent covers and the first section of ductwork is totally safe and doable as a DIY project. Just be gentle and use the right tools.
However, if you suspect mold, pest problems, or large buildups deep in your ducts, it’s best to call in professionals for a thorough job.
What type of vents can I clean using this guide?
This guide works for most common household vents, including:
- Floor vents
- Wall vents
- Ceiling vents
- Return air grilles
You can use the same steps whether your HVAC system is heating or cooling your home.
Kitchen and bathroom exhaust vents might need degreasing, but the overall process is similar.