
Are you noticing your dryer acting up of late?
Your towels come out damp even after a full 60-minute cycle, or maybe the laundry room feels hotter than usual.
Worse, there could be a slight burning lint smell when the dryer runs.
These could all make you wonder if something isn’t right.
For starters, let me tell you these are all signs of a clogged dryer vent. And more than just an efficiency problem, this is one of the most common safety issues in New Jersey homes.
Now, the silver lining is, you can safely clean your dryer vents yourself; all you’ve got to do is follow the right steps.
In this blog, I will tell you everything about how to clean out your dryer vent. You’ll know:
- What tools you need
- All the steps to clean your dryer vents
- Common mistakes homeowners in NJ make, and how to avoid them
- When DIY cleaning isn’t enough and it’s time to consider professional dryer vent cleaning
- And extra insights from my own dryer duct cleaning experience
So, let’s get started.
Key takeaways
- Cleaning your dryer vent reduces fire risk and helps clothes dry faster.
- You only need simple tools like a brush kit, vacuum, screwdriver, and gloves.
- New Jersey homes often have longer vent runs, and this makes lint build up faster.
- Dryer vents should have no screens or screws sticking inside when you clean.
- Replace worn-out transition ducts with UL 2158A-listed ones.
- Call a professional if there is heavy lint, birds’ nests, mold, crushed ducts, or water in the vent.
- Most homes in New Jersey need a full dryer vent cleaning at least once a year.
How to clean out your dryer vent?
Cleaning your dryer vent might sound intimidating. But let me tell you it’s actually a pretty simple DIY job once you know the steps.
All you’ve got to do is grab a dryer vent brush kit, work the brush inside the duct, pull out all the lint, and you’re done.
I have explained in detail how you can do all of these by yourself using simple tools. Let’s have a look.
Schedule Your Free Estimate Today
Contact us to improve your indoor air
quality with our expert cleaning services in NJ.
Get the required tools for dryer vent cleaning
The best part about DIY dryer vent cleaning is that you don’t need any fancy equipment. In fact, most New Jersey homeowners already have over 80 percent of the required tools at home.
Here are all the tools you’ll need:
| Tool | Purpose |
| Screwdriver / nut driver | To remove clamps and loosen connections |
| Dryer vent brush kit (with rods) | This is the main tool that cleans the entire duct |
| Vacuum cleaner or shop-vac | To remove loose lint around openings |
| Flashlight | It helps you see inside the duct |
| Gloves & dust mask | For both safety and comfort |
| Painter’s tape | It helps catch lint at the wall opening |
| Trash bags or cardboard | They help keep the mess contained |
Optional but helpful tools:
- Leaf blower
- UL 2158A–listed transition duct (to replace damaged flex)
- Foil HVAC tape (and not duct tape)
- Small drill (if your brush kit allows drill-driven rotation)
Use this pre-cleaning safety checklist
Before you roll up your sleeves, you need to follow a pre-cleaning safety checklist to make sure you set yourself up for a safe and stress-free cleaning.
You see, dryer vent cleaning isn’t dangerous, but it does involve some moving parts, which makes safety checks essential.
Here’s a pre-cleaning checklist to ensure safe DIY cleaning:
1. Turn off the dryer
Start by cutting the power. Here’s how:
- Electric dryer: Simply unplug it from the wall.
- Gas dryer: Unplug it and turn the gas valve to the OFF position. You’ll usually find the small gas shut-off valve right behind the unit.
This ensures there’s no power or gas running while you’re working.
2. Pull the dryer out carefully
Dryers are heavy and often connected by a fragile flex duct. Pull the dryer out just enough to reach the back comfortably, about one or two feet is usually enough.
3. Locate the exterior vent
Step outside and find where your dryer vents out.
Dryer vents are usually along a basement wall, near a foundation, or on an exterior side wall.
Knowing where they exit helps you visualize the entire vent path. You’ll know how long it is and which direction to brush later.
4. Clear any obstructions outside
Before you begin brushing or vacuuming, make sure the outside vent area is clear. I suggest you remove:
- Leaves
- Bird nests
- Snow or ice
- Dirt or debris around the flap
A clear outlet makes your cleaning easier and helps you spot airflow changes later.
Now that everything’s set, you’re ready to get the dryer vent cleaned up.
Here’s the pre-cleaning safety checklist in short:
| Step | What to Do |
| Turn off dryer | Unplug electric dryer. Turn the gas dryer OFF at the valve. |
| Pull dryer out | Move 1-2 feet from the wall to reach back safely. |
| Find exterior vent | Check outside where the vent comes out. |
| Clear outside obstructions | Remove leaves, nests, snow, dirt around vent |
Follow this step-by-step dryer vent cleaning guide
This is your simple step-by-step process to get your vent completely clean and running like new.
Follow these carefully, and you’ll do an excellent DIY cleaning job, better than a lot of beginner DIYers.
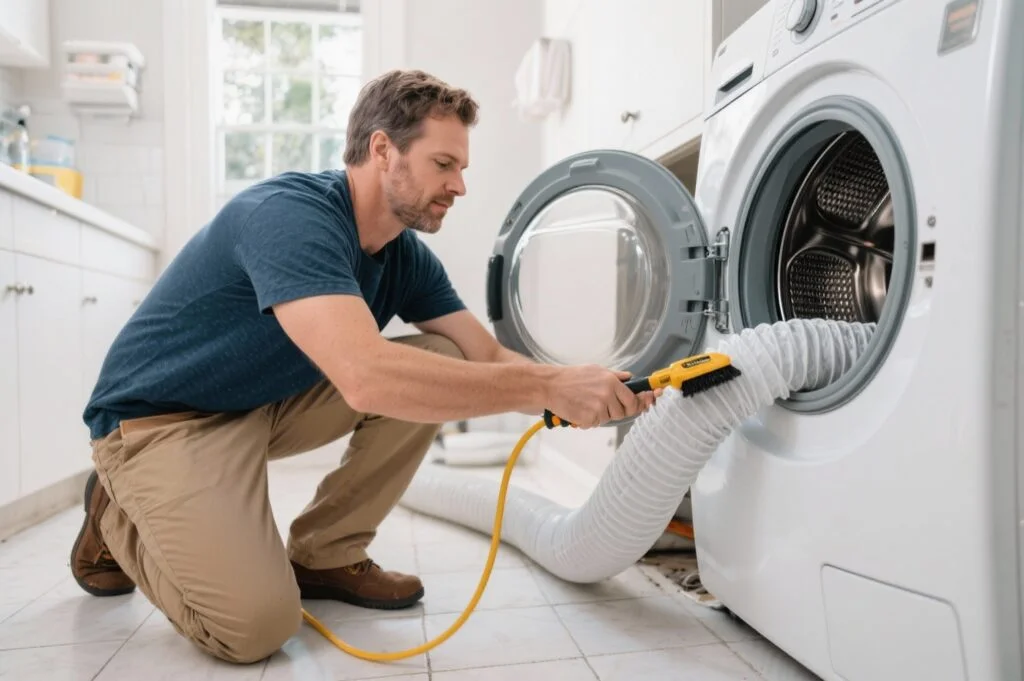
Step 1: Disconnect the dryer
- Loosen the clamp that holds the transition duct (the flexible hose) to the dryer.
- Gently remove the duct from both the dryer and the wall opening.
- Vacuum around the back of the dryer to pick up any loose lint or dust bunnies.
- If you can, reach inside the lint trap housing with a narrow vacuum hose. This spot hides a surprising amount of lint.
Step 2: Prepare the area
Dryer vent cleaning can get messy if you’re not ready for it as lint travels everywhere.
Here are a few simple setup steps to make cleanup easier:
- Tape a trash bag or piece of cardboard under the wall opening to catch loose lint.
- Lay down an old towel or sheet on the floor.
- Put on your dust mask and gloves, especially if you’re sensitive to dust.
- Keep pets and kids out of the room (trust me, lint looks like a toy to both).
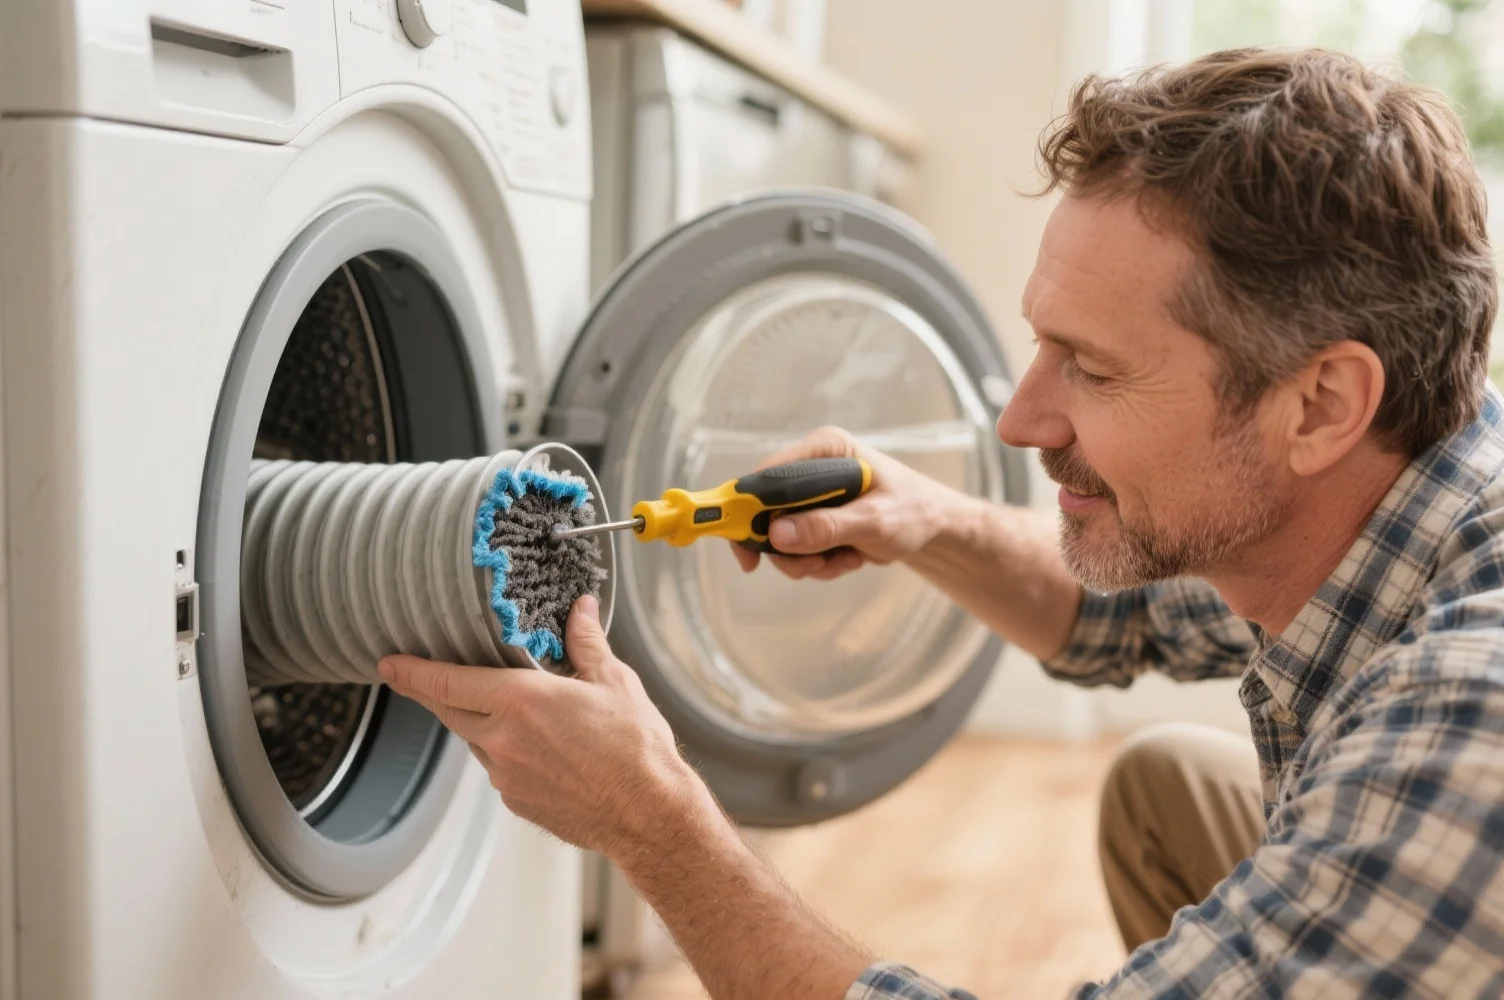
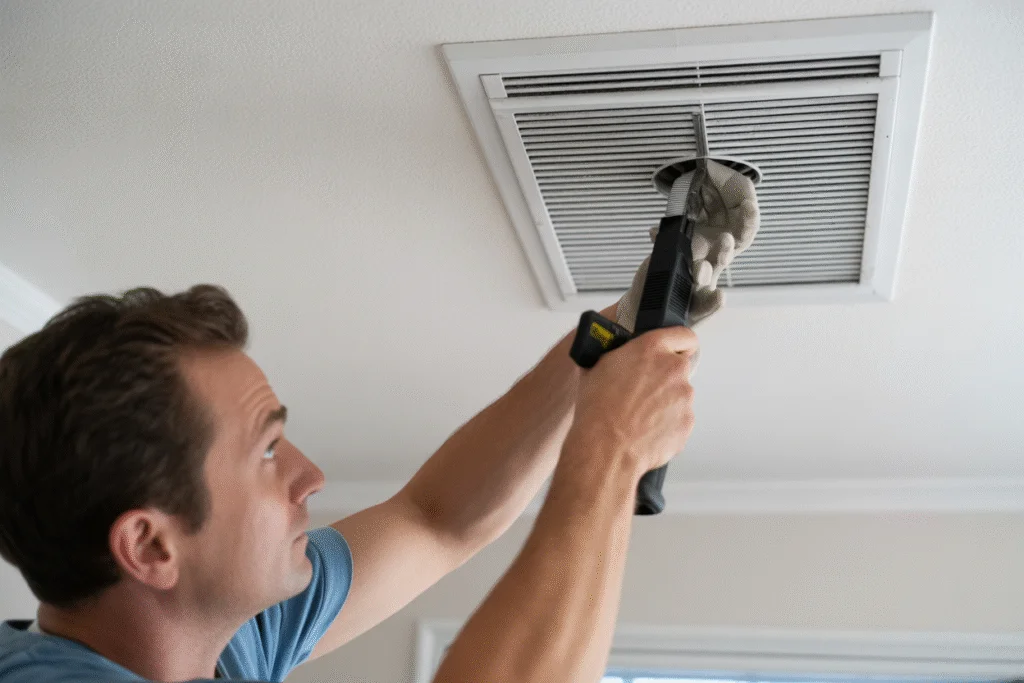
Step 3: Brush the inside of the vent from indoors
It is now time to put your dryer vent brush kit to work.
Here’s how to do it:
- Attach the brush head to the first rod.
- Insert it gently into the wall vent opening.
- Rotate the brush clockwise as you push it in (counterclockwise can unscrew the rods).
- Add another rod each time you need more length.
- Pull the brush back out every few feet and vacuum up the lint it brings with it.
- Keep brushing until you feel the brush reach the end of the duct.
Take your time, slow and steady cleaning does a much better job than fast brushing.
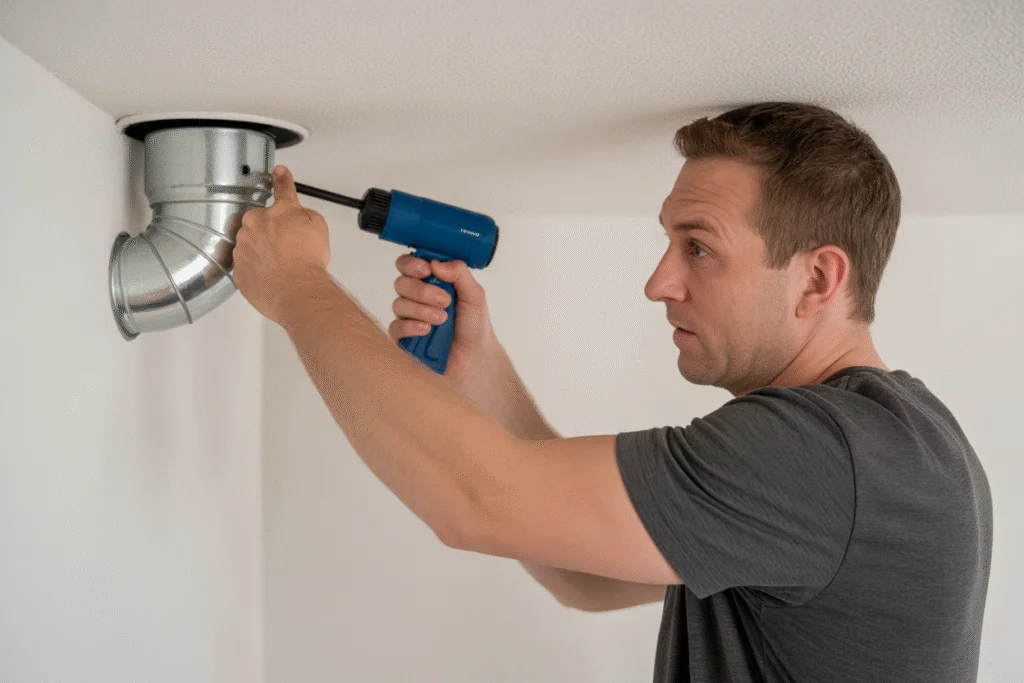
Step 4: Clean the exterior vent
Now head outside to where the duct exits your home and:
- Remove the vent hood cover if you can (usually a few screws or clips).
- Pull out any lint buildup or debris behind the flap.
- Use your brush to clean the last section of duct near the exit.
- Vacuum the area around the hood.
- Check that the flap moves freely. It should open fully when the dryer runs.
- If there’s a screen, remove it permanently as screens trap lint and are not allowed by New Jersey state codes.
If you find bird nests, wet lint, or heavy blockages, that’s a sign that you should call a professional.
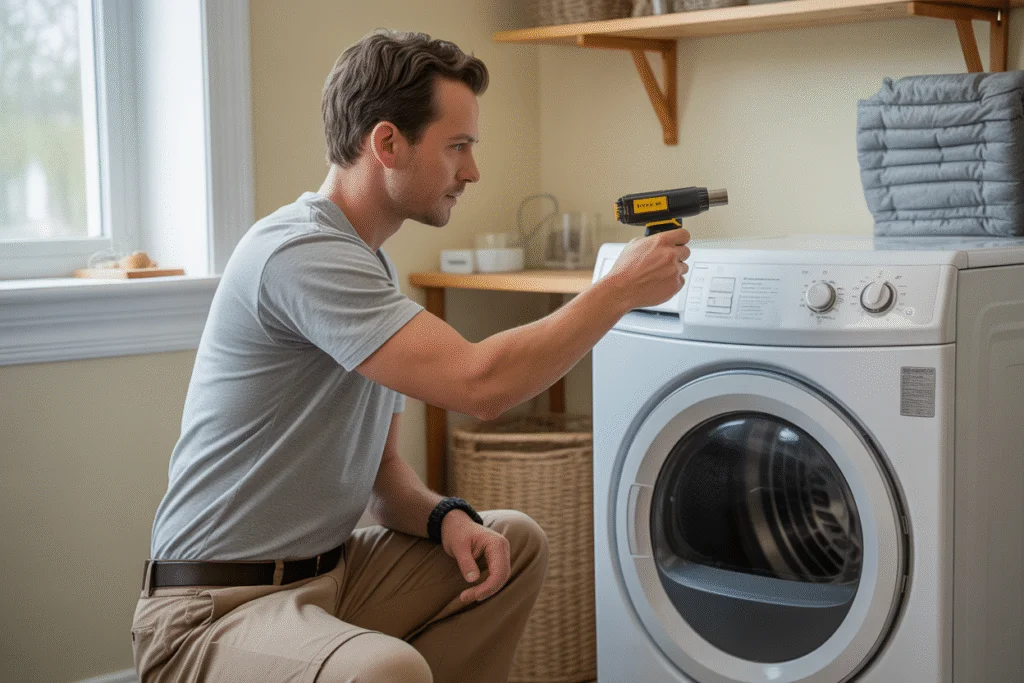
Step 5: Do an air assist cleaning (optional)
This step isn’t mandatory, but it gives you that extra-deep clean.
So, how to do this step?
After you’ve brushed everything out:
- Use a leaf blower from the inside out to push out any fine lint particles.
- Or run the dryer on the ‘Air Only’ setting for 5-10 minutes while brushing the last few feet.
Important: Never run the dryer with heat during this process as lint in the duct and it could pose fire risks.
Step 6: Clean the dryer’s internal passage
The vent isn’t the only place lint hides, as your dryer itself collects quite a bit inside.
So, do check and clean:
- The lint trap slot (where the screen slides in).
- The circular vent port at the back of the dryer.
- Any small lint clumps you can see or reach around openings.
A small vacuum hose or soft brush works perfectly here.
This step alone can noticeably improve drying times if lint has built up inside.
Step 7: Replace the transition duct (only if needed)
Now’s the perfect time to inspect your transition hose which is the flexible piece connecting the dryer to the wall.
Replace it if it’s:
- Crushed or kinked
- Torn or loose
- Old or discolored
- Made of plastic or vinyl (these are fire hazards)
And as you replace, I suggest you use only UL 2158A-listed metal ducts, such as:
- Semi-rigid aluminum
- Flexible aluminum rated for dryers
Avoid anything that feels soft, thin, or looks like a slinky toy. Those aren’t safe.
Step 8: Reconnect and test the system
We are almost there. This is the last step where you’ll put it all back together and make sure everything works perfectly.
Here’s how you’ll do it:
- Reconnect the transition duct securely to both the dryer and the wall outlet.
- Keep the duct short and straight, no sharp turns or crushing.
- Tighten the clamps or secure with foil HVAC tape (and don’t use duct tape).
- Plug the dryer back in (and restore gas if applicable).
- Run the dryer on ‘Air Only’ and go outside to check airflow.
You should feel a strong and steady stream of air coming from the vent flap. And iif it’s weak, double-check for a kink or leftover lint inside.
Once airflow feels good, push the dryer gently back into place. Leave a few inches of space between the wall and machine to avoid crushing the duct.
And that’s it, you’re done.
Your dryer should now run faster, use less energy, and most importantly operate more safely.
Here are all the DIY dryer vent cleaning steps in short:
| Step | What to Do |
| 1. Disconnect dryer | Loosen and remove duct from dryer & wall. Vacuum lint at back. |
| 2. Prepare area | Tape trash bag/cardboard under wall. Put down the towel/sheet. Wear a mask & gloves. Keep kids/pets away. |
| 3. Brush vent from inside | Attach the brush head to rods, insert gently, rotate clockwise. Add rods as needed. Pull out lint every few feet. |
| 4. Clean exterior vent | Remove the vent cover. Pull out the lint behind the flap. Brush last section. Vacuum area. Ensure the flap opens freely. Remove any screen. |
| 5. Optional air assist | Use a leaf blower or dryer on ‘Air Only’ to push fine lint out. Never use heat. |
| 6. Clean dryer internal parts | Lint trap slot, vent port at back, and any visible lint clumps. |
| 7. Replace transition duct (if needed) | Replace crushed, torn, old, or plastic ducts with UL 2158A-listed metal ones. |
| 8. Reconnect & test | Reattach duct, keep straight, tighten clamps or foil tape. Run the dryer on ‘Air Only’ to check airflow. Move the dryer back carefully. |
Some common mistakes to avoid while cleaning your dryer vent
Even the most well-meaning DIYers make a few slip-ups when it comes to dryer vents.
That’s because although it’s not hard to clean a vent, you’re not a professional cleaner and you might make some small mistakes unintentionally.
But then, these mistakes undo your hard work and sometimes even create a safety hazard.
Here are the most common mistakes I see DIYers in New Jersey make, and how you can avoid them.
Mistake #1. Using plastic or vinyl flex duct
Those flimsy white or silver plastic tubes you see at big-box stores, they’re not meant for dryers. Not even if the label says dryer vent.
Plastic and vinyl ducts can melt or catch fire under high dryer heat, and they trap lint in their ridges.
I suggest you use a UL 2158A-listed aluminum transition duct as it’s heat-safe, smooth inside, and code-compliant in New Jersey.
Mistake #2. Screwing duct joints together
It might seem logical to screw ducts together to keep them secure, but that’s a big mistake.
Why?
That’s because the tips of the screws stick into the airflow path and lint loves to catch on them. Over time, that lint builds up, forming a clog that’s hard to clean and dangerous to ignore.
So, always use foil HVAC tape or tight-fitting clamps to seal connections.
Mistake #3. Installing bird screens over the exterior vent
New Jersey has its fair share of starlings, sparrows, and other little nest-builders, and I get it.
But adding a screen over your dryer vent is against NJ codes and creates a major airflow restriction.
Even a small mesh screen can trap lint, block airflow, and cause moisture buildup inside the duct.
I suggest you instead use a dryer-specific vent hood with a built-in backdraft damper flap. This flap lets air out when the dryer runs and closes when it’s off, keeping birds out without blocking lint.
Mistake #4. Using a bathroom fan vent as a dryer vent
It might seem convenient to connect your dryer to an existing vent, but bathroom fan ducts are not designed for dryer airflow or heat. They’re too small, too long, and often made of thin plastic.
This can quickly lead to:
- Lint blockages
- Heat buildup
- Moisture problems
- Mold or mildew growth
So, as a rule of thumb, dryer vent should always have a dedicated dryer only fan, with its own 4-inch metal duct leading directly outdoors.
Mistake #5. Venting into an attic, crawlspace, or garage
This is a hidden hazard that I see a lot in older Jersey homes.
Some homeowners vent their dryer into a crawlspace or attic thinking, at least it’s out of the house.
Unfortunately, that’s a recipe for mold, rot, and poor air quality.
When you blow warm, moist air into an enclosed space, it condenses on wood, insulation, and drywall, creating the perfect breeding ground for mold and wood decay.
This is why you should always vent the dryer outdoors. Even if your layout doesn’t make that easy, a professional can reroute the duct safely.
Mistake #6. Running the dryer with heat during cleaning
Running your dryer while brushing might seem like a shortcut to help blow lint out, but it’s a fire hazard.
Why?
The combination of heat and airborne lint can ignite easily.
If you want to use the dryer to check airflow, run it on the ‘Air Only’ or ‘No Heat’ setting.
TL;DR, here are the common mistakes to avoid during DIY dryer vent cleaning:
| Mistake | Why It’s Bad | What to Do Instead |
| Using plastic or vinyl flex duct | Melts, traps lint, fire hazard | Use UL 2158A aluminum duct |
| Screwing duct joints | Screws trap lint, cause clogs | Use foil HVAC tape or tight clamps |
| Adding bird screens | Blocks airflow, traps lint | Use vent hood with built-in flap |
| Using bathroom fan vent | Duct too small, heat/moisture problems | Use dedicated dryer vent |
| Venting to attic/crawlspace | Moisture causes mold & rot | Always vent outdoors |
| Running dryer with heat while cleaning | Lint + heat = fire risk | Use ‘Air Only’ or no heat |
You might also want to read: How Often Should You Clean Your Dryer Vent?
When should you hire a dryer vent cleaning professional?
DIY dryer vent cleaning is great for light to moderate buildup. And it saves some money too.
But there are times when calling in a professional isn’t just smart. That’s because the cost of professional dryer vent cleaning starts as low as $89, and it ensures fool-proof safety.
Here’s how you know when it’s time to hire a professional:
1. There is Musty or burning smell
If you ever smell something like burning lint, plastic, or a damp musty odor, stop using your dryer immediately.
This could mean lint has made its way into the heating element or moisture is trapped in the duct.
A professional can inspect the inside of the dryer cabinet and deep-clean areas you can’t safely access.
2. There are bird nests or animal blockage
New Jersey homeowners deal with bird nests and animal blockage all the time, especially in spring.
Starlings and sparrows love building nests in dryer vent hoods because they’re warm, sheltered, and high off the ground.
Removing nests on your own can be tricky and messy. Professionals have flexible cameras, special vacuums, and long rods designed to safely remove nesting material without damaging your duct.
3. There is water dripping from the duct
If you see or hear water inside your dryer vent, that’s a red flag. It usually means the duct isn’t sloped correctly, allowing condensation to pool inside.
And if you leave this unchecked, that water can cause:
- Mold and mildew growth
- Rusted ducts
- Reduced dryer efficiency
A professional can re-slope or reroute the vent so moisture drains properly.
4. There are very long duct runs
If your dryer vent snakes through ceilings, attics, or multiple walls, that’s beyond the reach of most homeowner brush kits.
Long ducts need high-powered rotary tools or air compressor whips to clean effectively.
Trying to do it yourself often just pushes lint around instead of removing it.
5. There is plastic duct inside walls
If you find flexible plastic or vinyl ductwork inside your walls or ceiling, that’s a serious fire hazard.
Only rigid metal ducting is allowed inside concealed spaces.
A licensed vent technician can replace it with proper material and bring your system up to current code.
6. There is no airflow at all
If you turn on your dryer and feel little to no air outside, something’s seriously clogged or collapsed inside the duct.
This could be a crushed section, a disconnected joint, or a heavy lint blockage that basic brushes can’t reach.
A professional can inspect the duct with cameras and remove deep blockages safely.
7. You live in a condo or townhouse with shared walls
If your laundry unit is in a condo or townhouse, your vent might connect through shared walls or ceilings.
These systems are more complex and sometimes shared with neighboring units. Meaning there is access and extra safety considerations.
Professional cleaners use rotary snakes, high-suction vacuums, and inspection cameras to clean these systems thoroughly without damaging common walls.
In short, here’s when to call in a professional:
| Problem | Why Call a Professional |
| Burning or musty smell | Lint may be in heating element or moisture in duct |
| Bird nests or animal blockage | Hard to remove safely; pro has proper tools |
| Water in duct | Can cause mold, rust, poor airflow |
| Very long duct runs | Beyond reach of home brush kits |
| Plastic duct inside walls | Fire hazard, not code compliant |
| No airflow at all | Crushed, blocked, or disconnected duct |
| Condo/townhouse with shared walls | Complex system, requires professional tools |
Schedule Your Free Estimate Today
Contact us to improve your indoor air
quality with our expert cleaning services in NJ.
Final thoughts
By now, I am sure you know how to clean out your dryer vent yourself using the most basic tools and handyman skills.
You see, dryer vent cleaning is one of the simplest home maintenance tasks that can genuinely improve your safety, comfort, and appliance efficiency.
And with the right tools and guidance, you can handle a basic DIY cleaning.
But remember, DIY cleaning is for maintenance and not problem-solving. So, do call in a professional if:
- Your dryer is still slow
- You smell something burning
- Your duct is long, complex, or inaccessible
- You see birds, water, or mold
Need a professional dryer vent cleaning in New Jersey?
You can get in touch with us!
At Clean Air Technologies, we’ve been helping New Jersey homeowners stay safe and efficient with NADCA-certified dryer vent cleaning for over 30 years now.
So, if you need help, or want a proper inspection, just reach out. We’ll get your dryer running safely and efficiently again.
FAQs about DIY dryer vent cleaning
How often should I clean my dryer vent?
At least once a year is the general rule of thumb.
But, if you have pets, a large household, or do laundry several times a week, plan on cleaning it every 6 to 9 months. Pet hair, lint, and even tiny clothing fibers all add up faster than you’d expect.
Can I clean my dryer vent from the outside only?
You can, but it’s a bit like washing your car by spraying only the front bumper.
Cleaning from the outside only usually clears the last few feet of the vent, but all the hidden lint deeper inside (especially near the dryer connection and elbows) stays put.
The most effective cleaning method is always inside out, using a brush kit that can reach through the entire duct run.
Why is my dryer still slow even after I cleaned the vent?
If your dryer is still sluggish after you’ve cleaned the vent, don’t worry, there are a few common things that cause it, including:
- The vent is too long: Some older New Jersey homes have duct runs that snake through basements or walls, way past the 35-foot limit. Airflow drops dramatically over that distance.
- The duct is crushed behind the dryer: This happens constantly. When you push your dryer back against the wall, the transition duct can get pinched, blocking airflow.
- There’s a hidden elbow or clog you missed: Elbows, especially those behind walls or ceilings, trap lint easily.
- The dryer’s blower wheel is dirty: If the internal fan inside the dryer is clogged with lint, even a perfectly clean vent won’t help.
- The exterior hood is damaged: A broken or stuck flap outside can choke off air.
- The dryer itself needs service: Sometimes the problem isn’t the vent, it’s the heating element or moisture sensor inside the machine.
Is it safe to use a leaf blower to clean my dryer vent?
Yes, but with a few important rules.
A leaf blower can be a great bonus tool when used from the inside out, after you’ve brushed most of the lint loose. The airflow can help push fine lint dust all the way outside.
Here’s how to do it safely:
- Disconnect the dryer from the wall duct.
- Insert the blower nozzle carefully into the duct (don’t jam it in).
- Seal around it loosely with a towel to keep lint from flying back.
- Turn the blower on for just a few seconds at a time.
And remember, never blow air from outside in. That can pack lint deeper into the duct instead of clearing it.
Can I replace the duct with a longer flex tube?
No. A longer flex tube might seem convenient, but it’s actually a major safety hazard.
Here’s why:
- Flex ducts sag and trap lint over time.
- Long runs slow down airflow, making drying times longer.
- Plastic or vinyl flex tubes aren’t heat-safe and can literally melt or ignite.
If you need extra length, use rigid metal ducting. It’s smooth inside, resists lint buildup, and meets New Jersey building codes.
Can dryer vents cause mold?
Yes, and it’s more common than most people realize.
Here’s how it happens:
When lint buildup blocks airflow, warm, moist air from your dryer can’t escape properly. That moisture condenses inside the vent, creating the perfect environment for mold and mildew to grow.
You might notice:
- A musty smell near the dryer
- Damp lint clumps inside the duct
- Water dripping from the vent hood
In New Jersey, this problem is especially common in basements and cold-weather months, when warm indoor air meets cold metal ducts and creates condensation.
Why does New Jersey see so many dryer vent problems?
New Jersey’s housing stock is older than most, and that means many homes were built long before modern dryer vent codes were established. Combine that with our humid climate, tight laundry spaces, and wild bird population, and you’ve got a recipe for vent issues.
Here’s what makes NJ unique:
- Older duct systems: Many homes still use outdated vent materials or overly long runs.
- Long vent paths: Dryers in basements or interior closets often have 20-40 feet of ducting to reach the outside wall.
- Damp basements: Humidity makes lint stick to duct walls faster.
- Bird problems: Starlings and sparrows love nesting in exterior dryer hoods, especially in spring.
- Shared walls in condos/townhomes: Makes access and maintenance trickier.