Have you been noticing extra dust around your home, a musty smell when the air con kicks on, or your allergies flaring up for no reason?
Well, dirty HVAC ducts might be causing all of it.
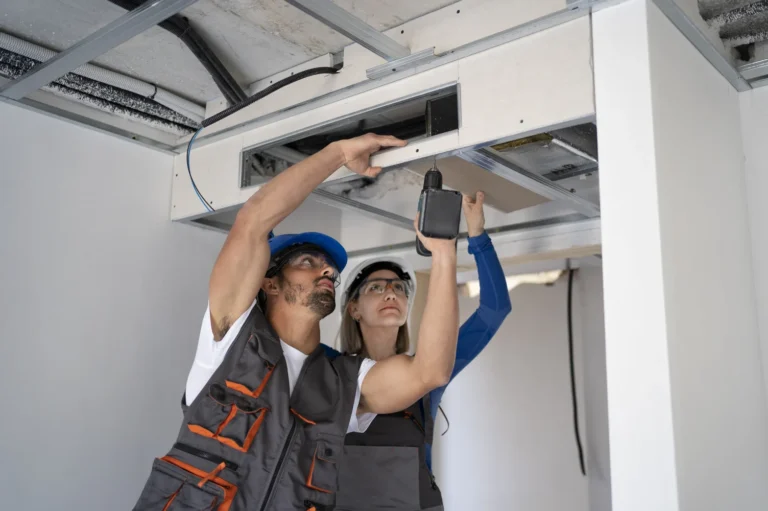
Now, before you hit panic mode and make frantic calls to every duct cleaner, let me tell you that you can clean your HVAC ducts yourself.
Although it’s not a full replacement for professional duct cleaning, a DIY cleaning can still improve airflow, reduce dust buildup, and help your HVAC system run smoother.
This isn’t a magic fix for mold, pests, or years of neglected ductwork. But if you’re in a typical New Jersey home, regular DIY duct cleaning can make a difference.
In this blog, I’ll walk you through exactly how to clean your HVAC ducts yourself safely using tools you might already have. You’ll learn:
- What tools and materials you need
- All the required steps for complete air duct cleaning
- When to stop and call in a professional
- Extra tips to keep your ducts cleaner, longer
So roll up your sleeves and let’s get started.
Table of Contents
Key takeaways
- DIY duct cleaning helps reduce dust and improve airflow.
- You’ll need basic tools like a shop vac, brush, and screwdriver.
- This method is for light maintenance and not deep cleaning or mold.
- Always replace your HVAC filter after cleaning.
- Older NJ homes often need duct checks due to age and humidity.
- If you smell mold, see pests, or have allergies, call a professional.
How to clean HVAC ducts yourself safely?
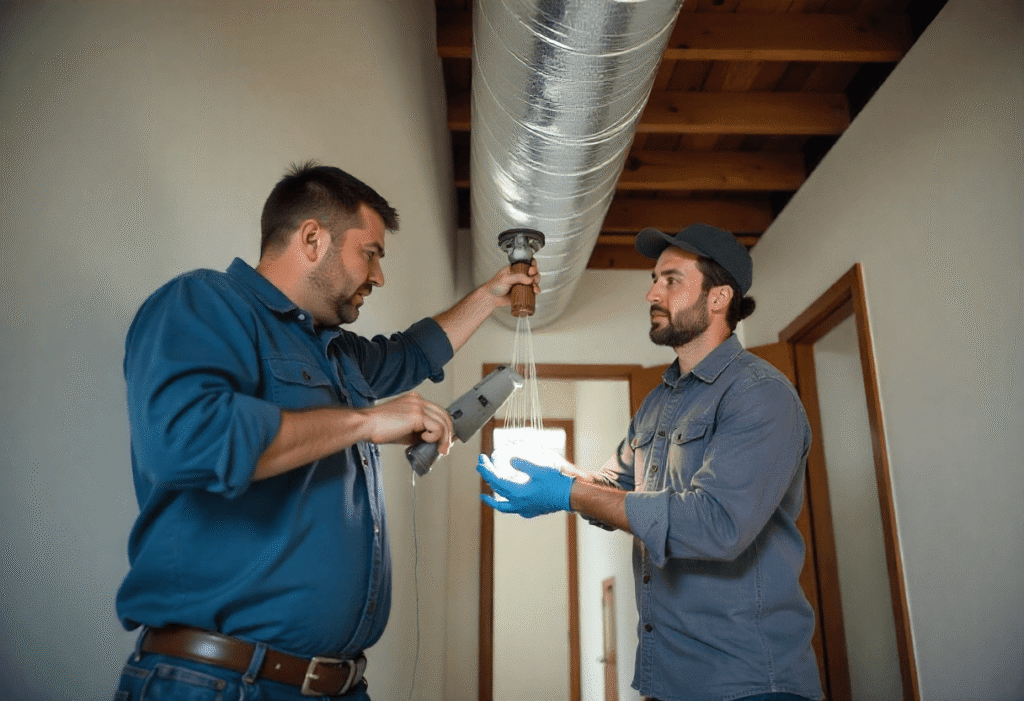
For starters, a DIY HVAC duct cleaning is one where you tackle all sorts of dust, dirt, and debris.
Here, you’ll remove vent covers, vacuum out dust using a strong hose, and scrub ducts to loosen grime.
While this DIY approach can improve your indoor air quality and system efficiency, it’s mainly for routine maintenance.
I have detailed exactly how to clean ductwork yourself using the right tools and steps below.
First of all, gather essential tools
Before you start with actual cleaning, you’ve got to have the right gear on hand. Most of these are common household tools, or you can find them easily at a local hardware store.
Here’s what you’ll need:
- Screwdriver or drill: To remove vent covers (Phillips or flat-head depending on your vents).
- Shop vac (wet/dry vacuum): A vacuum with a long hose and strong suction is key. Bonus points if it has a brush attachment.
- Dryer vent brush or stiff cleaning brush: Helps loosen dust and debris inside the ducts. The same type of brush is often used during dryer vent cleaning New Jersey services to remove lint buildup from dryer exhaust lines and improve airflow.
- Microfiber cloths or rags: For wiping down vent covers and duct openings.
- Paper towels: To cover supply vents while you clean others, so dust doesn’t blow everywhere.
- Protective gear: A dust mask, safety goggles, and gloves are a good idea (especially if you have allergies or asthma).
- New HVAC filter: To replace your filter after cleaning to keep your air clean and your system running efficiently.
Optional but helpful tools:
- Flashlight: To help you see deeper into the ducts.
- Vacuum brush attachment: Makes cleaning around vent edges easier.
In short, here are all the tools you need:
| Tool | Purpose |
| Screwdriver or Drill | To remove vent covers |
| Shop Vac (Wet/Dry Vacuum) | To vacuum dust and debris inside ducts |
| Dryer Vent Brush/Stiff Brush | To loosen dust and debris inside ducts |
| Microfiber Cloths/Rags | For wiping down vent covers and duct openings |
| Paper Towels | To cover supply vents during cleaning |
| Protective Gear | Dust mask, safety goggles, gloves for safety |
| New HVAC Filter | To replace after cleaning |
| Flashlight | For seeing deep into ducts |
Schedule Your Free Estimate Today
Contact us to improve your indoor air
quality with our expert cleaning services in NJ.
Then, follow this step-by-step guide to clean ductwork yourself
Now that you’ve got your tools ready, it’s time to get your hands dirty. This isn’t a complicated job, but it does take some patience and attention to detail.
I will walk you through the process step by step so you can do it safely and effectively.
But remember, this DIY method is for basic cleaning and maintenance. And if you’re dealing with mold, strong odors, or signs of pests, stop here and call a professional.
Let’s get started.
Step 1. Turn off your HVAC system
Before you start removing vent covers or sticking anything into your ducts, turn off your heating or cooling system at the thermostat. If your HVAC unit has a dedicated breaker switch, flip that off too.
This is important for two reasons:
- It prevents dust and debris from being blown around while you clean.
- It keeps your fingers safe if you’re reaching near fan components or motorized vents.
Double-check that both heating/cooling and fan settings are off before moving on.
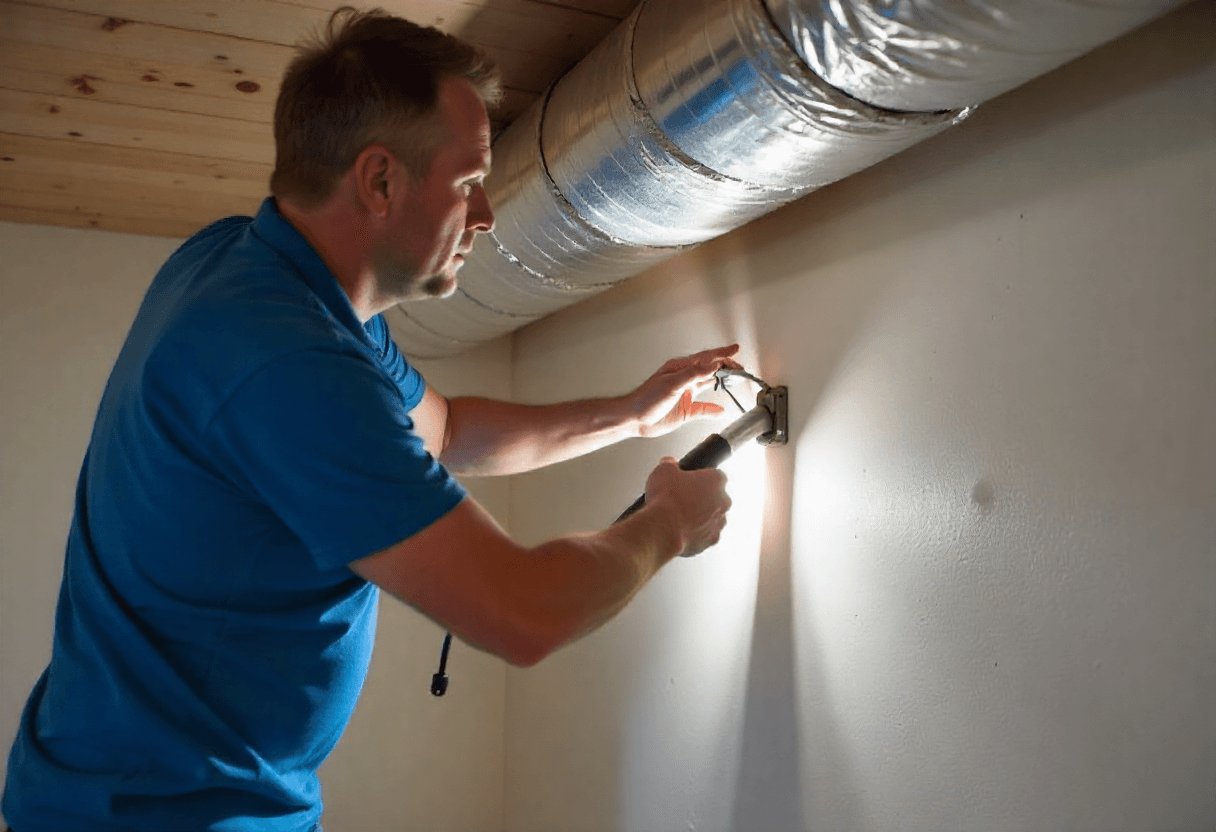
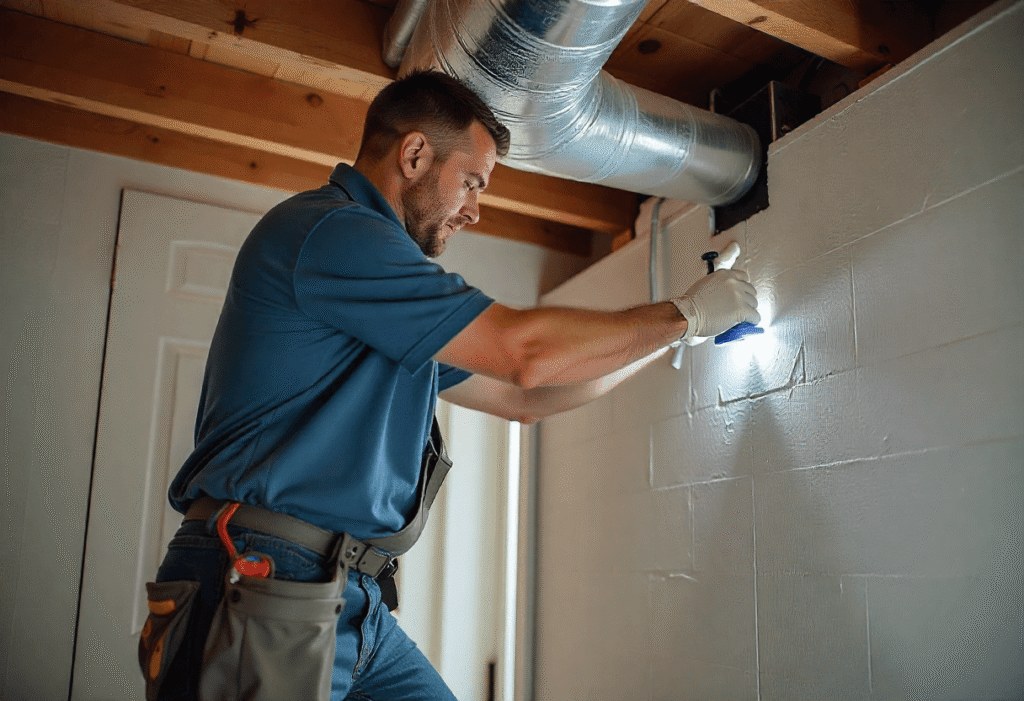
Step 2. Remove and clean vent covers
Having turned the system off, you go around your home and unscrew or unclip the vent covers from both floor and wall registers. You’ll usually need a screwdriver or a drill for this part.
Once removed:
- Soak the covers in warm, soapy water, especially if they’re dusty or greasy (common near kitchens).
- Scrub with a brush or cloth to remove any built-up grime.
- Let them dry completely before putting them back on later.
I’ve explained how to clean air vents yourself in a separate blog, go through it for more details.
Step 3. Cover supply vents
It’s a good idea to cover the supply vents in rooms you’re not actively cleaning yet. This helps prevent dust and debris from blowing into your living space while you work.
Here’s how to do it:
- Cut a few paper towels to size and lightly tape them over each vent cover opening.
- You can also use microfiber cloths or old rags if you prefer something reusable.
- Don’t seal them airtight, just enough to catch loose particles.
This keeps things cleaner and stops dust from settling back into your home while you vacuum other sections.
Step 4. Loosen dust and debris
Now it’s time to break up the buildup inside your ducts. Most of what you’ll be dealing with is dry dust, cobwebs, pet hair, and loose debris that’s clinging to the walls of the ductwork.
Here’s how to loosen it up:
- Use a dryer vent brush, long-handled stiff brush, or even a toilet brush to gently scrub the inside of the ducts.
- Reach in as far as you comfortably can and twist the brush around to dislodge gunk stuck to the sides.
- Start with return vents as these tend to collect the most dust. And if you’re not sure which one is a return vent, go through my blog on different types of air vents before you follow this step.
- Be careful not to damage flexible ductwork (common in newer homes or attics). If it feels soft or crinkly, don’t push too hard.
5. Vacuum inside the ducts
Everything is loosened up now, and it’s time to vacuum all that dust and debris out of your ducts.
Here’s how you can do it:
- Use a shop vac with a long, flexible hose, ideally one with a brush attachment for better reach and agitation.
- Insert the hose into the duct and slowly move it around in circular motions, making sure to get into the corners and bends as far as you can reach.
- Pay extra attention to the return vents as it usually collects the most buildup.
- If your vacuum doesn’t reach deep into the ductwork, that’s okay, you’re still removing a good chunk of surface-level dust and particles.
Pro tip: If your shop vac blows air out the back, make sure the exhaust is vented outside or use a HEPA filter bag so you’re not just redistributing the dust.
6. Wipe down openings and grilles
While most of the cleaning happens inside the ducts, don’t forget the vent covers and grilles as they collect dust, dirt, and grime too.
Here’s what you should do:
- Remove vent covers gently using a screwdriver if needed.
- Use a damp cloth or microfiber towel with mild soap or all-purpose cleaner to wipe down the covers and the surrounding wall or floor area.
- For metal grilles, a quick scrub with a soft brush can help loosen stubborn dirt.
- Let them dry completely before reinstalling to avoid trapping moisture inside the ducts.
Cleaning these components improves airflow and keeps your home looking tidy.
7. Replace or clean HVAC filters
Your HVAC filters play a huge role in keeping dust and debris out of your ducts, so this step is crucial.
Here’s what to do:
- Locate your HVAC filter (it is usually near the air handler or furnace).
- If it’s a disposable filter, get an air filter replacement and replace it with a new one that matches the size and rating recommended by your HVAC system’s manufacturer.
- If it’s a reusable filter, remove it and clean it according to the manufacturer’s instructions. You’ll usually rinse with water and let it dry completely before reinstalling.
8. Do a final check and restart your system
You’re almost done. Now it’s time to make sure everything is back in place and your system is running smoothly.
Here’s what you need to do:
- Double-check that all vent covers and grilles are securely reattached.
- Make sure your tools and cleaning materials are cleared away from the area.
- Turn your HVAC system back on and listen for any unusual noises.
- Feel the airflow at the vents to ensure it’s strong and consistent.
- Keep an eye on your system over the next few days for any signs of trouble, like strange smells or reduced airflow.
Your HVAC system should now run more efficiently and keep your home’s air fresher.
In short, here are all the steps to clean your HVAC ducts:
| Step | Action |
| 1. Turn Off Your HVAC System | Turn off at the thermostat or dedicated breaker switch. |
| 2. Remove and Clean Vent Covers | Unscrew vent covers, soak in soapy water, and scrub. |
| 3. Cover Supply Vents | Use paper towels or microfiber cloths to cover vents while cleaning others. |
| 4. Loosen Dust and Debris | Scrub ducts with a dryer vent brush or stiff cleaning brush. |
| 5. Vacuum Inside the Ducts | Use a shop vac with a long hose to suck out debris. |
| 6. Wipe Down Openings & Grilles | Wipe vent covers and surrounding areas with a damp cloth. |
| 7. Replace or Clean HVAC Filters | Replace disposable filters or clean reusable filters. |
| 8. Final Check & Restart System | Ensure all covers are back on, tools are cleared, and the system runs smoothly. |
When should you call in an HVAC duct cleaning professional?
DIY duct cleaning can tackle a lot of the everyday dust and debris in your HVAC system.
But sometimes, the problems run deeper, and that’s when it’s smart to call in professionals who specialize in air duct cleaning new jersey to properly inspect and clean the entire system.
Here are some clear signs that your DIY efforts might not be enough, and it’s time to get expert help:
1. There’s musty smell or signs of mold
If you notice a persistent musty or moldy smell coming from your vents or around your home, that’s a big red flag.
Mold inside your ducts isn’t just unpleasant, it can seriously affect your family’s health, especially if anyone has allergies or asthma.
You see, mold in air ducts looks black, green, white, or gray. And it hides in hard-to-see places.
Removing it safely requires special equipment and know-how. DIY cleaning usually can’t handle this safely or thoroughly, so a professional is your best bet.
2. Pests or droppings in ducts
Are you finding signs of rodents, insects, or other pests in your ducts?
Pests signs can include anything from droppings, chewed insulation, or even strange noises at night. And they can cause damage and spread bacteria or allergens through your air system.
Professional cleaners know how to safely remove pests and seal up entry points, keeping your home healthier in the long run.
3. Strange or persistent odors
Sometimes the odors coming from your ducts aren’t just from dust or normal use, they could be from hidden issues like dead rodents, mold, or chemical off-gassing.
And if you’ve tried cleaning and freshening your ducts but the smell lingers, a professional inspection can identify and eliminate the root cause.
4. Severe allergies or asthma symptoms
If family members experience worsening allergies, asthma attacks, or respiratory problems that don’t improve despite regular cleaning, it could mean deeper air quality problems that DIY methods can’t fix.
A professional duct cleaning combined with an indoor air quality assessment can make a real difference here.
5. Recent water damage
Had a recent leak, flood, or water damage in your home?
Well, moisture can cause mold growth or rust inside your ducts, which is tough to clean without professional equipment. Plus, water damage can weaken ducts or HVAC components.
So, calling a professional after water damage ensures your ducts are safe and your system isn’t at risk.
In short, here’s when you should call in a professional:
| Sign | Reason to Call a Professional |
| Musty Smell or Mold | Mold can affect health and needs special equipment to remove. |
| Pests or Droppings | Pests in ducts can cause damage and spread bacteria. |
| Strange or Persistent Odors | Hidden issues like dead rodents or mold need expert help. |
| Severe Allergies or Asthma Symptoms | Unresolved air quality problems require a professional cleaning. |
| Recent Water Damage | Moisture can cause mold or duct damage that needs professional repair. |
Pro tips to keep your ducts clean
Cleaning your HVAC ducts yourself is a great way to improve your home’s air quality, but keeping them clean over time takes a little extra care.
Here are some easy tips to help you keep your ducts clean and your system running smoothly for a long time:
- Change Filters Every 1-3 Months: Swap out your HVAC filters regularly to catch dust and debris before they enter your ducts.
- Clean Vent Covers Every 6 Months: Wipe down vent covers every six months to remove dust, pet hair, and grime.
- Keep Furniture & Rugs Away from Vents: Avoid blocking vents with furniture or rugs to allow proper airflow and reduce dust buildup.
- Control Humidity (Especially in NJ Basements): Use a dehumidifier or improve ventilation to prevent mold growth in damp areas like basements.
- Seal Leaky Ducts or Gaps: Inspect and seal any leaks in your ducts to keep dust and pests out while improving energy efficiency.
Schedule Your Free Estimate Today
Contact us to improve your indoor air
quality with our expert cleaning services in NJ.
Final thoughts
By now, I am sure you know everything about how to clean HVAC ducts yourself while keeping yourself and your system safe.
You see, as long as you’re prepared, careful, and take the right steps, DIY HVAC cleaning is absolutely doable. Plus, it’s a great way to maintain your system between professional visits.
Just remember that DIY cleaning isn’t a full substitute for a professional deep clean or a remedy for serious issues like mold or pests.
Need a deeper duct cleaning?
Get in touch with us!
At Clean Air Technologies, we have been helping homes across New Jersey breathe easier for over 28 years. Our experienced team offers thorough inspections and professional duct cleaning to tackle even the toughest issues.
FAQs about how to clean ac ducts yourself
How often should I clean my HVAC ducts?
Generally, it’s good to have your ducts cleaned professionally every 3 to 5 years.
However, for routine maintenance, you can clean vent covers and accessible ducts yourself every 1 to 2 years. If you have pets, allergies, or live in a dusty area, more frequent cleaning might help.
Can I really clean my HVAC ducts myself, or should I always hire a professional?
DIY cleaning is great for regular maintenance like removing dust and debris from vent covers and accessible duct openings.
But if you notice mold, pests, severe dust buildup, or if your ducts are hard to reach, it’s safer and more effective to call a professional.
What tools do I need for cleaning my ducts at home?
Basic tools include a vacuum with a long hose (preferably with a HEPA filter), microfiber cloths, brushes (like a paintbrush or dryer vent brush), screwdrivers, and possibly a flashlight.
Having a face mask and gloves is also a good idea to protect yourself from dust and allergens.
Is vacuuming enough to clean HVAC ducts?
Vacuuming helps remove surface dust and debris, but it might not reach deep into the ducts or remove stubborn mold or pest contamination.
That’s why a full professional cleaning often includes brushing, sanitizing, and sealing as needed.
What are the risks of trying to clean flexible or hard-to-reach ducts myself?
Flexible ducts are more fragile and can tear easily, which reduces HVAC efficiency and can worsen air quality.
Hard-to-reach ducts may harbor hidden mold or pests that require special tools and expertise to remove safely.
Damaging ducts can be costly to repair, so it’s best to leave these to pros.
How do I know if there’s mold in my HVAC ducts?
Signs of molds in air ducts include a musty or moldy smell near vents, increased allergy or asthma symptoms indoors, visible mold around vents, or recent water damage in your home.
If you suspect mold, avoid disturbing it yourself and schedule a professional inspection.
How long does DIY duct cleaning usually take?
For an average home, basic DIY cleaning can take a few hours depending on the number of vents and how dirty they are.
Professional cleaning might take a full day or more, depending on the home size and condition of the ducts.
How much does a professional HVAC duct cleaning cost?
A full air duct cleaning in New Jersey can cost anywhere in the range of $500 and $1000. The exact cost will depend on your location, extent of required cleaning, and the cleaning professional or company you hire.